Aluminium cutting, often written as aluminum cutting, is the process of separating aluminum into usable parts while controlling heat, burrs, accuracy, and surface damage. A good cut is not just about getting through the metal. It is about leaving an edge that still fits, finishes, or assembles properly. Practical guidance from Alekvs and PartMFG shows that results depend as much on workholding, blade choice, and lubrication as on the tool itself.
For beginners, this answers the basic question of how to cut aluminum. For fabricators, it means choosing a process that balances speed, edge quality, and repeatability. Aluminum is workable, but it can also load teeth, smear at the edge, or leave burrs if the setup is wrong. That is why the cleanest result usually comes from matching the method to the material, not grabbing the nearest saw and hoping for the best.
The best way to cut aluminium starts with the stock shape. Thin sheet behaves very differently from thick plate or a hollow profile.
Choose for material form first, tool second. That single decision prevents many bad cuts.
Not all aluminum behaves the same. Alloy family and temper change hardness, ductility, and how the metal responds to heat and friction. Research on Al-Li machining in this Al-Li study found that hardness, feed rate, and cooling can all affect cutting forces. In plain shop terms, softer grades may smear or stick to the cutter more easily, while harder or heat-treated material may need a sharper blade, steadier feed, and better lubrication. So if you are asking how to cut an aluminum sheet, start with its form and thickness, then check the alloy and temper. That is usually the real best way to cut aluminium, and it sets up the tool choices that follow.
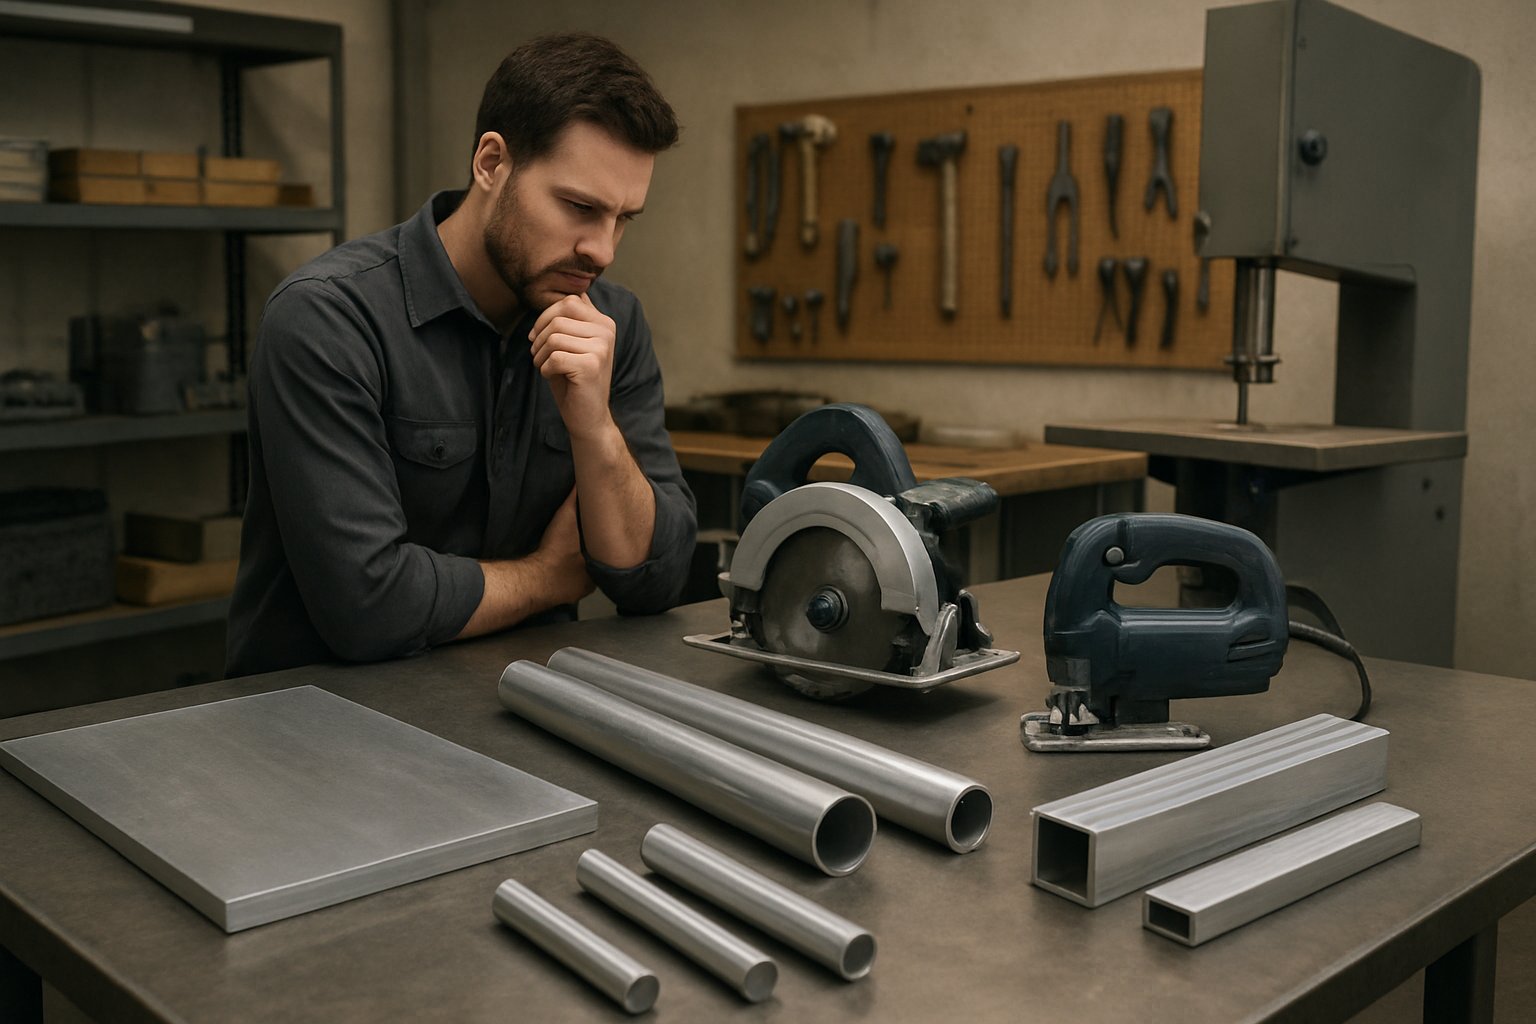
A clean result starts with the right process, not the nearest tool. Thin sheet, thick plate, hollow extrusion, and small bar stock all behave differently once the cut begins. Guidance from FS Fab, PartMFG, and ASM points to the same practical rule: choose by material form, thickness, finish target, and quantity first. Then pick the machine that gives you enough control.
Manual tools still make sense for light work. Snips are fast on very thin sheet, but they can distort the edge. A hacksaw is slow, though useful for small one-off cuts in tube, bar, or profile when you need a simple, low-cost option. When the shape turns curved, cutting aluminum with a jigsaw is often the better DIY move for thin sheet and cutouts, especially where a long straight saw is awkward.
Powered saws take over when straightness, speed, or repeat cuts matter. For panels and long straight trims, cutting aluminum with circular saw setups is common, and cutting aluminum with skill saw setups follows the same logic when the handheld saw is fitted for non-ferrous metal. If your work is mostly extrusion, tube, or short straight sections, cutting aluminum with miter saw equipment is usually more controlled. If you have asked, can i cut aluminum with a miter saw, the practical answer is yes for straight crosscuts on the right stock, with firm clamping and a blade intended for aluminum.
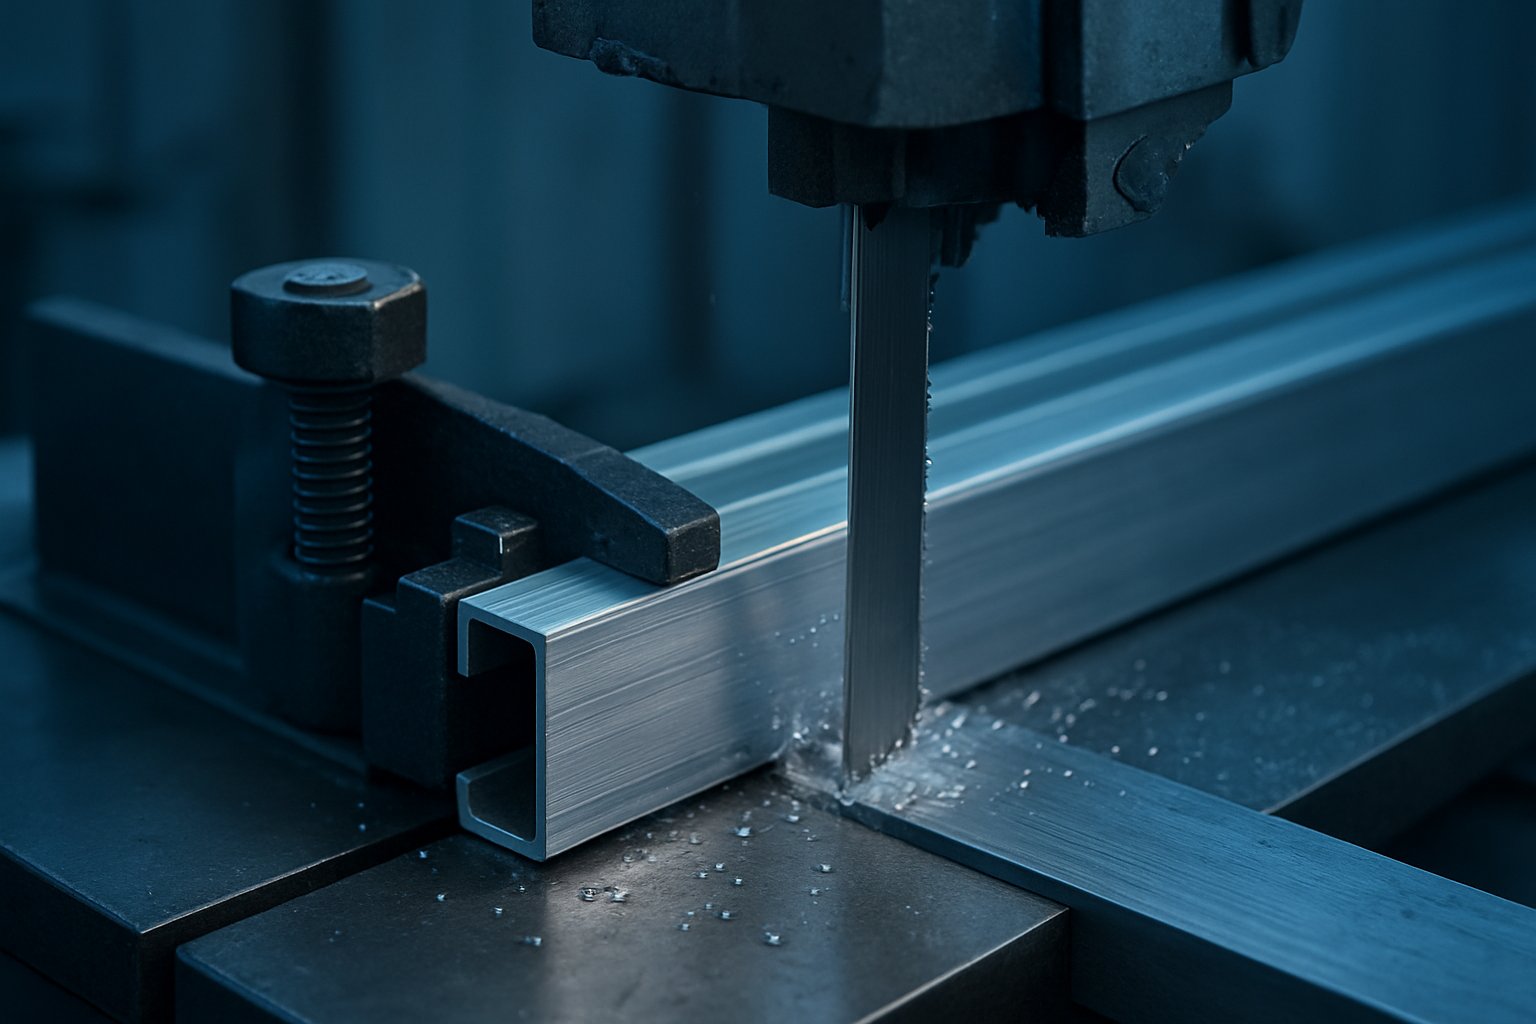
Thicker stock shifts the decision again. Bandsaws are a strong choice for bars, blocks, and tubing because they control the cut well and handle heavier sections with less drama than many handheld tools. Routers and CNC routers suit sheet work, slots, and repeated curved paths. CNC milling is the step up when the part needs repeatable dimensions, pockets, or more complex geometry. For sheet fabrication, ASM notes that laser cutting is typically faster and more precise than waterjet, while waterjet stays valuable when you need a cold process with no heat-affected zone. Cutting aluminum with plasma cutter equipment makes more sense when speed on thicker plate matters more than pristine edge finish.
Different jobs reward different compromises.
| Method | Ideal material form | Best cut type | Edge quality | Tolerance potential | HAZ risk | Likely post-processing | DIY or fabrication shop |
|---|---|---|---|---|---|---|---|
| Snips | Very thin sheet | Straight, slight curves | Fair | Low | None | Edge straightening, deburring | DIY |
| Hacksaw | Tube, bar, small profiles | Straight | Fair | Low to moderate | None | Filing, deburring | DIY |
| Jigsaw | Thin sheet, cutouts | Curves, short straights | Fair to good | Moderate | Low | Deburring, light filing | DIY |
| Circular saw | Sheet, panel, long profile | Straight | Good | Moderate to high | Low | Light deburring | Both |
| Miter saw | Extrusion, tube, small sections | Straight crosscuts | Good to very good | High | Low | Light deburring | Both |
| Bandsaw | Bar, block, tube, thicker sections | Straight, gentle curves | Good | High | None | Deburring, possible finish cut | Both |
| Router or CNC router | Sheet, light plate | Curves, slots, profiles | Good | High | Low | Deburring, edge cleanup | Mainly shop |
| CNC milling | Plate, block, complex parts | Complex contours | Very good | Very high | Low | Minimal, depending on finish target | Fabrication shop |
| Laser | Thin to medium sheet | Straight and intricate shapes | Very good | Very high | Yes | Light deburring if needed | Fabrication shop |
| Waterjet | Thick plate, heat-sensitive work | Straight and complex shapes | Good | High | None | Possible edge finishing | Fabrication shop |
| Plasma | Thicker sheet and plate | Mainly straight, broad contours | Fair to good | Moderate | Yes | More deburring and cleanup | Fabrication shop |
CNC and thermal methods pay off when the cut has to do more than separate material. Repeated parts, tighter tolerances, intricate holes, and production speed all push the decision away from hand tools. Laser is strong on thin to medium sheet where precision and speed matter. Waterjet is the better fit when heat must stay out of the part. Plasma is usually chosen for heavier stock and faster throughput, with the understanding that cleanup may increase. In a shop with guards, fences, and proper blades, some operators also cut aluminum with table saw setups for repeatable straight work, but that is a controlled shop choice, not an automatic first pick for every user.
By this stage, the tool list is much shorter. What separates a merely acceptable cut from a clean, safe one usually comes down to the part that actually touches the metal: the blade or cutter geometry.
The saw you choose narrows the options, but the tooth geometry decides how the cut actually behaves. A poor aluminum cutting blade can rub, load up, and grab even on a solid machine. A proper blade for cutting aluminium is built to shear a soft, sticky metal cleanly, clear chips from the kerf, and keep heat under control. That is why two people can use the same saw and get completely different edges.
For chop, miter, table, and radial arm saws, a non-ferrous carbide blade with triple-chip grind is a common starting point. The Cold Saw Shop guide notes that these blades commonly use TCG teeth with hook angles of -5, 0, or +5 degrees for aluminum applications. Low or neutral hook angles help the blade enter the work more calmly and move chips out instead of aggressively grabbing the stock.
Blade material matters too. Carbide-tipped blades are widely used on woodworking-style saws because they stay sharp well in non-ferrous work. On cold saws, HSS is still common. That same guide lists M2 blades ground to 25 degree rake and 12 degree relief for manual cold saw aluminum work, which shows how machine type changes the ideal geometry. For thin-gauge extrusions and fragile profiles, it also points to bright-finish M2 HSS blades with a thinner kerf.
Think about thickness and chip space together. Thin sheet and light profiles usually benefit from finer teeth for a smoother edge. Thicker bar and heavier sections need fewer teeth and larger gullets so chips can clear instead of packing into the cut. A non-ferrous blade guide places many common miter and chop saw options in the 80 to 100 tooth range, while also noting that thicker stock often shifts lower and thinner material higher.
Abrasive wheels can cut metal, but they are usually a compromise, not the first-choice saw blade for cutting aluminum. When a dedicated non-ferrous blade is available, it usually delivers a cleaner edge and less cleanup. Abrasive options make more sense when finish matters less than simple separation or when the saw setup limits blade choices. Fit still matters. HowStuffWorks stresses matching diameter and arbor size to the saw, and that same discipline applies here. Even the best cutter will disappoint if the work is poorly supported or the feed is inconsistent.
A good blade can still produce a bad edge if the setup is loose, the feed is hesitant, or heat has nowhere to go. That is why consistent results in aluminium cutting often come from process control more than tool ownership. Whether you are using an aluminum cutting saw, a router, or other aluminum cutting tools, the same pattern keeps showing up: rigid support reduces chatter, clean chip flow reduces heat, and steady feed keeps the edge from smearing.
Rigidity is the quiet difference between a smooth pass and a noisy, wandering one. In Kennametal's chatter guide, the practical fixes are simple and transferable: shorten overhang where possible, improve fixture security, and reduce the ways vibration can build. Those ideas apply just as well to saw cutting aluminum as they do to milling.
Stable workholding and consistent feed are the foundation of clean cuts.
You do not need guessed numbers to spot a bad setup. The Taig feeds and speeds explainer reduces the issue to a useful rule: speed drives temperature, feed drives chip thickness, and chips carry much of the heat away. In plain shop terms, too much speed can raise heat fast and encourage tooth loading. Feed that is too light can make the blade rub instead of cut. Feed that is too aggressive can chatter, deflect the work, or leave a rough edge.
Watch the cut itself. Healthy chips look formed, not dusty. The sound should stay even, not shrill or hammering. If the metal feels excessively hot, the edge looks smeared, or the blade starts sounding glassy and harsh, back up and correct the setup before blaming the material. For aluminum metal cutting, those visible signs are often more useful than generic charts.
Lubrication helps in two ways: it reduces friction and helps prevent chips from sticking to the cutting edge. That matters with aluminum because a loaded tooth stops shearing cleanly and starts tearing the edge. Apply lubricant lightly and consistently at the cutting zone when the tool and machine allow it. Too little can let heat build. Too much can create a messy work area, hide the cut line, or throw residue onto surrounding surfaces.
With handheld or bench tools, use only products and application methods appropriate to the machine. With CNC or flood-capable equipment, follow the machine and cutter maker's guidance if it is available. If not, let the cut tell you what is happening. A clean-running aluminum cutter tool throws chips cleanly, sounds steady, and leaves less welded material behind. Get those basics right, and the next question is not which saw to buy, but how to manage the chips, grab, heat, and movement that can turn a decent cut into a safety problem.
A stable setup does more than improve accuracy. It also keeps the cut from turning violent. In real shop use, many safety problems come from the same root causes as bad edges: movement, binding, heat, and the wrong blade for the job. That matters whether you are trimming sheet by hand or cutting profiles on a bench saw.
The safest cut often leaves the best edge. Good support, the right blade, and calm feed reduce surprises and cleanup at the same time, which makes cut quality the next detail worth comparing closely.
Safe operation matters, but the edge tells you whether the method was actually right. For anyone cutting aluminum sheet or cutting aluminum sheet metal, the real question is usually how much cleanup comes after the cut. Comparisons from Alekvs, Wurth Machinery, and JLC point to the same pattern: mechanical methods tend to leave burrs or rollover, thermal methods can leave dross and a heat-affected zone, and waterjet avoids heat but may still leave a slight rolled edge that benefits from light cleanup.
If you are asking how do you cut aluminum sheet for a visible panel, speed alone is not enough. The best way to cut aluminium sheet is usually the method that gives the edge quality your part actually needs. A rough trim can tolerate filing. A part that must fit tightly, coat evenly, or stay scratch-free cannot. That is also why the best way to cut aluminum sheet in production often turns out to be the method that reduces rework.
| Method | Finish quality | Burr or dross tendency | Repeatability | Distortion risk | HAZ risk | Typical post-processing |
|---|---|---|---|---|---|---|
| Snips | Fair | High burr and edge deformation on thin sheet | Low | High on thin material | None | Edge straightening, deburring, filing |
| Hacksaw | Fair to good | Moderate burr | Low | Low | None | Filing and edge break |
| Jigsaw | Fair to good | Moderate burr, especially on exit side | Low to moderate | Moderate if sheet is unsupported | Low | Deburring and light filing |
| Circular saw | Good | Low to moderate burr | Moderate to high | Low when supported well | Low | Light deburring |
| Miter saw | Good to very good on profiles and crosscuts | Low burr | High | Low | Low | Light deburring, occasional face cleanup |
| Bandsaw | Good | Moderate burr | High | Low | None | Deburring, possible finish filing |
| Router | Good | Low to moderate burr if setup is right | High | Low to moderate on thin sheet | Low | Edge cleanup and surface protection |
| CNC milling | Very good | Low burr | Very high | Low | Low | Minimal deburring |
| Laser | Very good on thin sheet | Low burr but possible recast ridge or light dross | Very high | Low | Yes | Light edge break, dross removal if present |
| Waterjet | Good to very good | Low burr, possible edge roll on soft aluminum | High | Low | None | Light deburring or surface finish pass |
| Plasma | Fair to good | High dross tendency | Moderate | Moderate | Yes | Grinding, filing, heavier cleanup |
The gap between methods gets wider when accuracy and finish both matter. Alekvs places laser and waterjet in a higher-accuracy class than plasma, and Wurth Machinery describes laser as the precision choice for thin sheet while waterjet stands out when heat must stay out of the part. Plasma is faster on thicker conductive metal, but edge cleanup usually rises with that speed.
Soft aluminum adds another twist. JLC notes that burrs in aluminum often smear or fold rather than break cleanly, especially when heat and friction climb. So, anyone searching how to cut aluminium sheet metal for coating, anodizing, or close-tolerance assembly should think about the exit edge, not just the entry cut. If you only need to cut aluminum sheet for rough brackets or hidden parts, hand methods may be good enough. For cosmetic panels, repeat parts, or tight fits, saws with proper support, CNC milling, laser, or waterjet usually save time later.
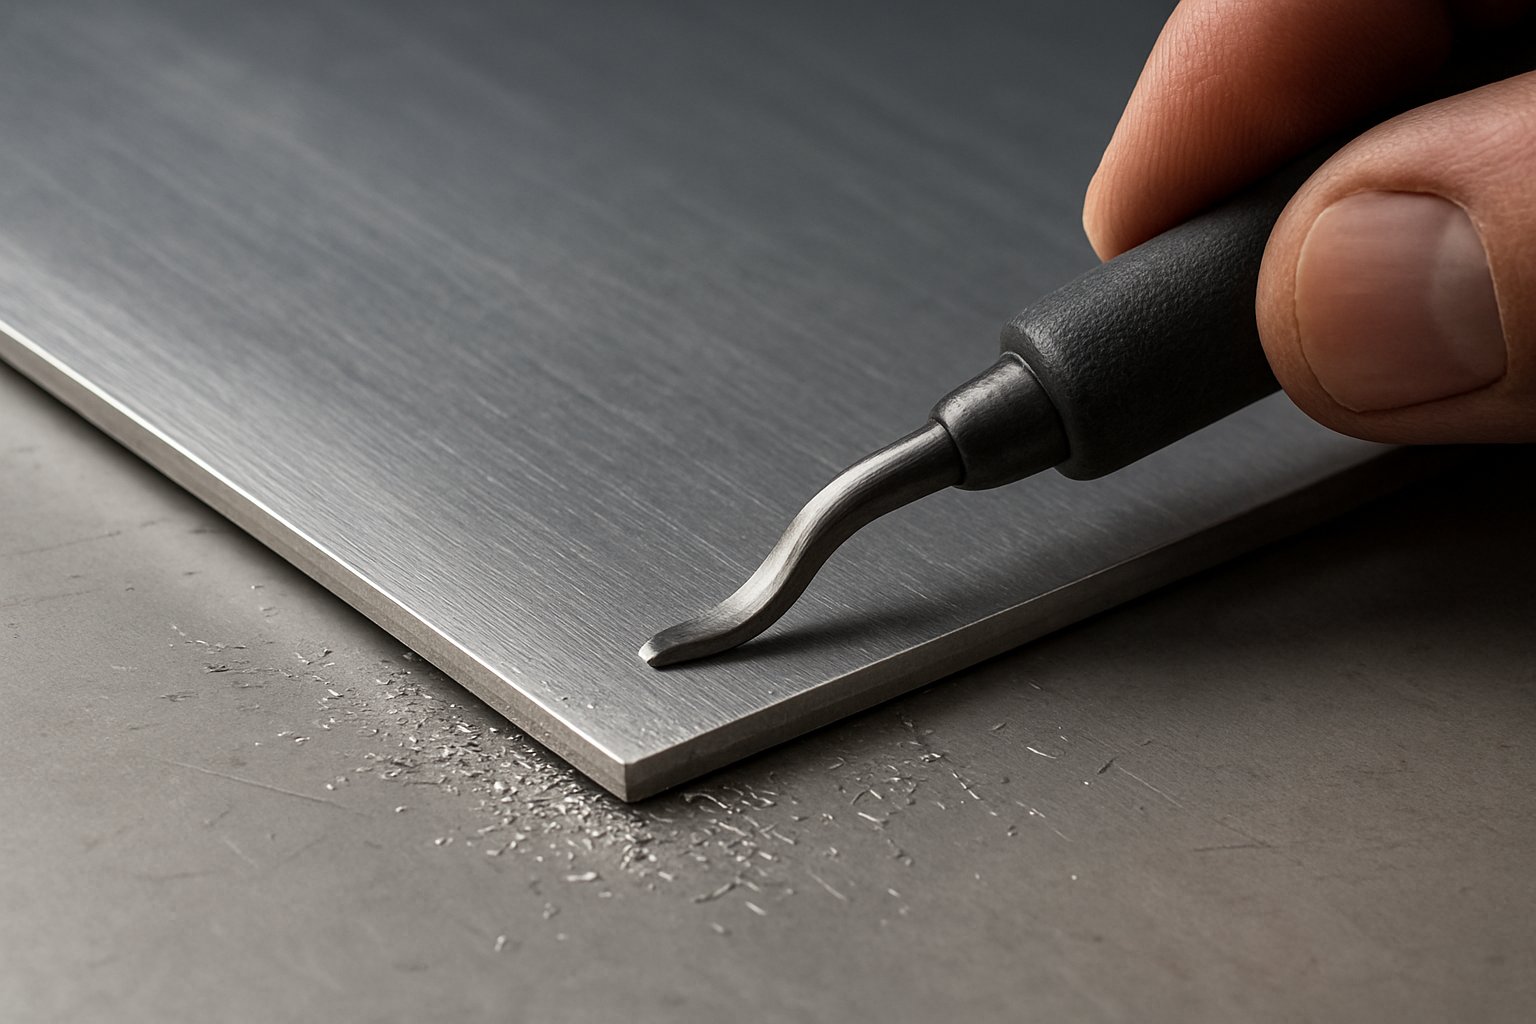
Cleanup should remove the burr, not remake the part. JLC's deburring guidance is especially useful for aluminum: use lighter pressure, finer abrasives, and brush-style deburring where possible to avoid rolling the edge over or smearing the surface.
Heavy burrs, welded chips, chatter marks, smeared edges, and wandering cuts are rarely random. The edge usually shows exactly which part of the process needs fixing.
When a cut starts going bad, the edge usually tells you why. Softness, heat conductivity, and the tendency to stick to tooling make aluminum fail in recognizable ways. Practical guidance from CNC World, Key Blades, and The Fabricator points to the same root causes again and again: excess heat, rubbing instead of cutting, weak workholding, and the wrong cutter for the job.
Loaded teeth, smeared edges, and shiny material stuck to the cutter are classic built-up edge problems. CNC World explains that aluminum can fuse chips to the cutting edge when heat rises and chip evacuation is poor. The first fixes are usually simple. Start with a sharp cutter, improve chip clearing, and avoid such a light feed that the tool only rubs. The same logic applies whether you are using a saw, a router, or a cut off wheel for aluminum. If an aluminium cutting disc starts polishing and smearing the edge, heat is winning and the cut needs to be reset.
Chatter often announces itself before the edge looks terrible. Thin sheet, long tool reach, loose clamping, and uneven feed all make vibration worse. CNC World ties chatter directly to poor workholding and resonance. Key Blades notes that blade bending and breakage in jigsaws often come from too much pressure or trying to force curves with the wrong blade. In jigsaw cutting aluminum, rough edges usually improve when the work is clamped better, pressure is reduced, and the blade matches the cut style. A narrow blade helps on curves. A wider blade tracks straighter. If you are choosing a jigsaw for cutting aluminum and it keeps deflecting, the setup is often the real problem.
Grabbing and wandering usually come from instability, not from aluminum being unusually difficult. If you cut aluminum with hacksaw and the blade drifts off the line, check support and start pressure before blaming the material. Plasma shows the same principle in a different way. If you have asked, can you cut aluminum with a plasma cutter, the answer is yes, but The Fabricator shows that gas choice strongly changes the result. Air can leave a rough, oxide-coated edge, while more suitable gas setups can produce a much cleaner finish.
| Symptom | Probable cause | What to change first |
|---|---|---|
| Blade loading or chip welding | Heat buildup, dull edge, poor chip evacuation, rubbing feed | Use a sharp cutter, clear chips better, and add suitable lubrication or mist if the setup allows |
| Chatter and noisy cut | Loose clamping, long tool stick-out, thin stock flex, feed and speed mismatch | Re-clamp closer to the cut, support the work better, and reduce vibration sources |
| Excessive burrs | Dull tool, rubbing instead of shearing, thin sheet flexing during the cut | Replace or sharpen the cutter, increase support, and avoid feather-light feed |
| Rough edge with jigsaw | Wrong blade for straight or curved work, too much pressure, poor clamping | Match blade shape to the cut, ease the push, and clamp the sheet firmly |
| Blade bending or breaking on a jigsaw | Forcing curves in thicker stock, excessive force, wrong blade type | Use the correct blade and guide the tool gently instead of forcing it |
| Smearing or melted-looking edge | Overheating from speed, poor chip removal, repeated passes in the same area | Lower heat, improve evacuation, and make more decisive cuts |
| Grab or sudden pull into the work | Workpiece movement, aggressive entry, unstable support | Improve workholding and restart the cut under better control |
| Inaccurate cut or tool wandering | Blade deflection, weak guidance, uneven pressure, flexing stock | Shorten unsupported spans, use a straighter blade or guide, and reduce side pressure |
| Rough plasma edge or heavy oxide | Process tuned for speed rather than edge quality, gas choice not suited to the finish target | Revisit gas selection and edge-quality priority before chasing tighter tolerance |
| Loaded or wandering abrasive cut | Heat, loading, or unstable handling with aluminum cut off wheels | Stop and inspect the wheel, reduce heat, and improve control before continuing |
Poor results usually come from a mismatch among blade choice, setup stability, and feed technique, not from aluminum itself.
Sometimes the same symptoms keep coming back because the part needs tighter repeatability, better cosmetic edges, or more production efficiency than a light shop setup can deliver. That is where the decision shifts from fixing the cut to deciding who should be making it.
Sometimes the recurring problem is not the blade, the feed, or the operator. It is the job itself. Light shop tools are often enough for one-off trimming, prototype work, or a simple answer to how to cut aluminum pipe, how to cut aluminum tubing, or how to cut angle aluminum. But Groupe Hyperforme notes that outsourcing becomes attractive when a project needs specialized equipment, tighter quality control, faster delivery, or lower investment in equipment and labor than an in-house setup can support.
If you keep searching how to cut aluminum extrusions and the real job now includes slots, drilled holes, repeatable lengths, cosmetic faces, or coated surfaces, you are no longer solving only a cutting problem. The same goes for jobs that begin with how to cut aluminium pipe or how to cut aluminum diamond plate, then turn into fixturing, deburring, finishing, and packaging work. At that point, every extra handoff adds time and variation.
A solid supplier should be evaluated like a process, not just a price. Aluphant's supplier audit guide recommends checking technical capability, process control, inspection systems, documentation, and repeatability before approving a source.
Integrated processing matters because extrusion, cutting, machining, finishing, and inspection all affect the final part. For readers moving from simple aluminium cutting to production-ready parts, Shengxin Aluminium is a relevant example. Its published processing information highlights more than 30 years of manufacturing experience, 35 extrusion machines, precision CNC machining, and in-house anodizing and powder coating in one workflow. That kind of setup is useful when custom profiles or industrial components need more than a clean saw cut. For simple jobs, keep it in-house. For repeatability, finish quality, and volume, the smarter fix is often a better production path.
The best method depends on the material form, thickness, and finish you need. Thin sheet often suits snips, shears, or a jigsaw for curves, while straight cuts in sheet, extrusion, or tube are usually better with a circular saw, miter saw, or bandsaw fitted with the right non-ferrous blade. If repeatability, tight fit, or cosmetic edges matter, CNC milling, laser, or waterjet usually make more sense than a basic hand-tool approach.
A blade made for non-ferrous metal is usually the safest starting point. On miter, circular, and table saws, carbide blades designed for aluminum generally cut cleaner and stay more stable than general-purpose blades. Thin material usually benefits from finer teeth, while thicker stock needs more room for chip evacuation so the blade does not load up and start tearing the edge.
Yes, a miter saw can work very well for straight crosscuts in extrusion, tube, and smaller sections when the setup is controlled. The key is firm clamping, full support, and a blade intended for aluminum rather than a generic wood or abrasive option. A smooth, steady feed matters too, because forcing the cut can increase burrs, grabbing, and surface damage.
Start by supporting the sheet close to the cut so it cannot flutter or bend away from the blade. Use a tool and blade suited to thin material, keep the feed consistent, and manage heat so the edge is sheared rather than smeared. After the cut, remove the burr lightly with a deburring tool, fine file, or brush, and protect visible faces from scratches during cleanup.
Outsourcing becomes the smarter option when the job needs repeatable lengths, custom extrusion processing, secondary machining, finished surfaces, or production volume that a light shop setup cannot handle efficiently. A supplier with integrated extrusion, CNC machining, anodizing, and powder coating can reduce handoffs and improve consistency. For that kind of work, Shengxin Aluminium is a relevant example because it combines large-scale extrusion capacity with in-house machining and finishing support.


 Интернет Сервис
 0086 136 3563 2360
 sales@sxalu.com
 +86 136 3563 2360
 русский
 English
 français
 Deutsch
 español
 português
 العربية
 ไทย
ไทย Việt
Việt Українська