Ever wondered why some aluminum wheels, trim, or appliances have that head-turning, mirror-like shine—while others look dull or weathered? The secret lies in the right approach to polishing. Whether you’re restoring a classic car, reviving a boat hull, or just want your kitchenware to gleam, learning how to polish aluminum can make a dramatic difference in both appearance and function.
Polished aluminum isn’t just about looks—though a brilliant finish certainly grabs attention. The process removes surface oxidation, which appears as a chalky white or gray layer and can mask the true beauty of the metal. By eliminating this oxidation, you restore aluminum’s natural luster and help prevent further corrosion. In fact, a smooth, polished surface is less likely to trap contaminants, making it easier to clean and maintain in the long run. Polishing can also extend the lifespan of aluminum parts by improving their resistance to environmental damage and wear.
Depending on your project, you might aim for a clean satin finish that’s easy to maintain, or push for a dazzling, mirror-like shine that rivals chrome. This guide will walk you through each step, from cleaning and prep to achieving that showroom polish—no matter your experience level.
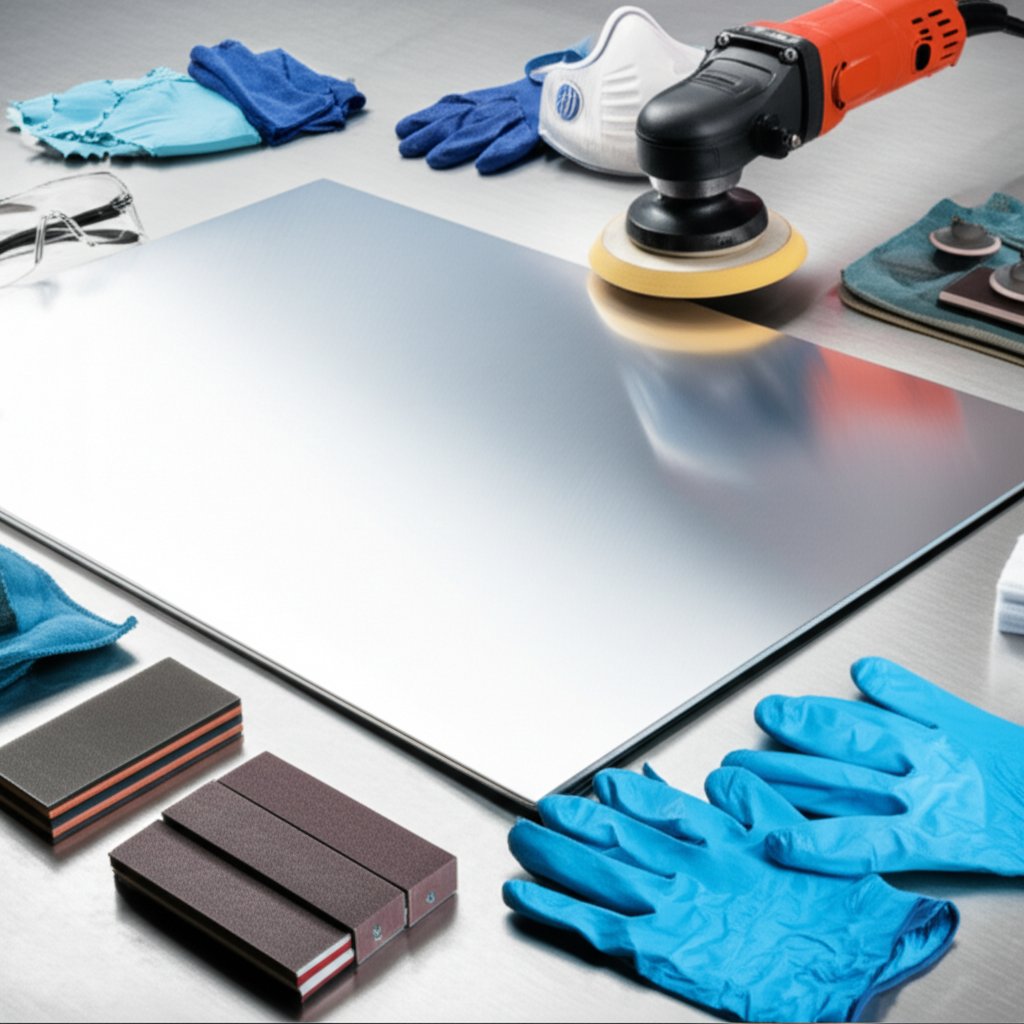
Sounds complex? Don’t worry—every great finish starts with the right preparation. Before you dive in, it’s crucial to protect yourself from potential hazards like chemical splashes, metal dust, and abrasive tools. Here’s what you’ll need to stay safe:
Imagine: with the right gear and a step-by-step approach, you’ll not only achieve a finish that turns heads, but also ensure your safety throughout the process. Ready to get started? In the next section, we’ll cover the most important first step—thoroughly cleaning the aluminum to lay the foundation for a flawless shine.
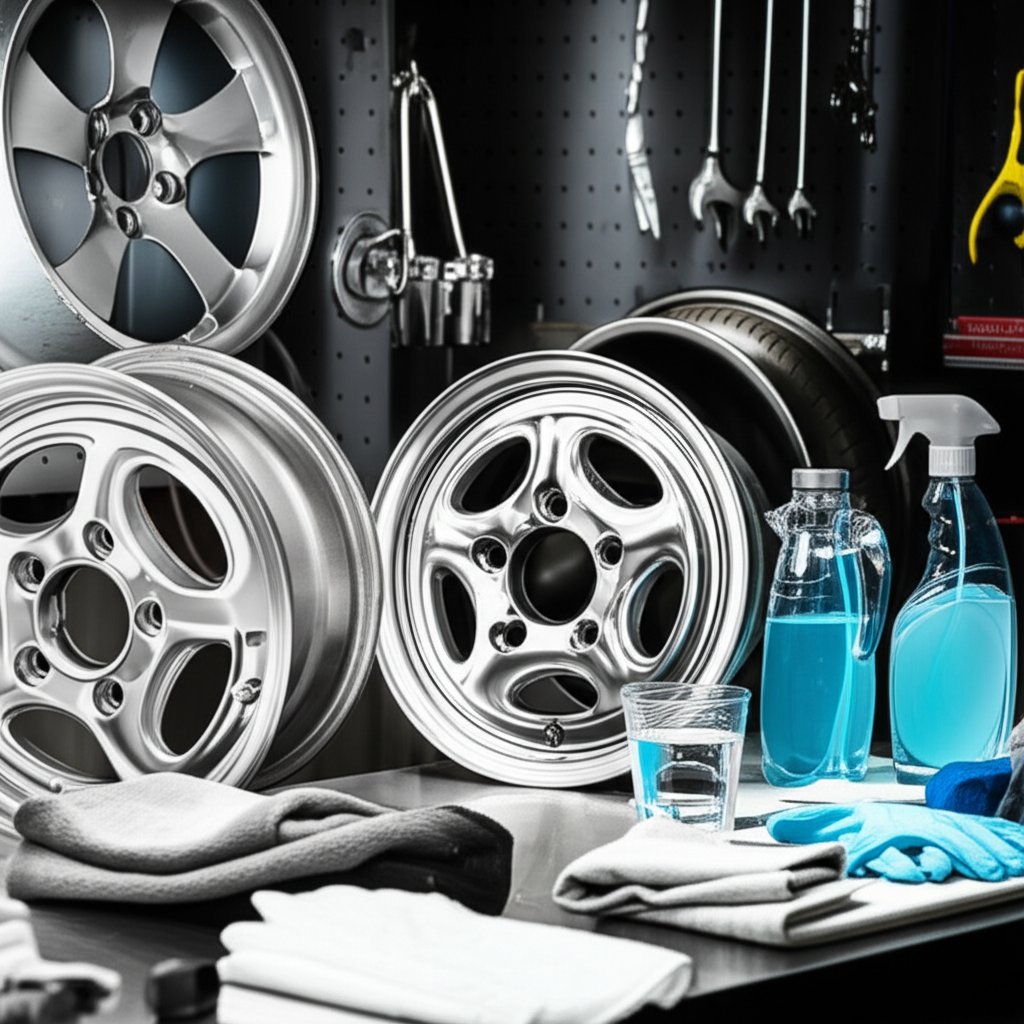
When you picture that flawless, gleaming aluminum surface, it’s easy to imagine jumping straight to the polish. But here’s a question: what happens if you skip the cleaning step? The answer—swirls, scratches, and a finish that never quite reaches its full potential. Before you can master how to clean and polish aluminum, you need to understand why a spotless surface is the key to success.
Think about your project—whether it’s restoring dull wheels, a weathered boat hull, or a kitchen appliance. Dirt, grease, brake dust, and oxidation act as barriers between the metal and any polish you apply. If left behind, these contaminants can scratch the surface during the polishing process and prevent the polish from bonding evenly.
Imagine trying to wax a car caked in mud—no matter how much you buff, the shine just doesn’t come through. The same principle applies to aluminum: thorough cleaning is non-negotiable for a brilliant, lasting finish.
Not all aluminum is created equal, and neither are the messes you’ll encounter. Here’s how to select the best cleaning approach for your needs:
Some cleaning challenges go beyond the basics. Brake dust, for example, can bond tightly to wheels, while saltwater exposure may leave a tough layer of oxidation on boat hulls. In these cases, patience and the right tools make all the difference.
Here’s a step-by-step process to ensure your aluminum is spotless and ready for polishing:
By investing the time in a meticulous cleaning routine, you set the stage for a truly professional result. With your aluminum now free from dirt, grease, and oxidation, you’re ready to move on to the next critical step: sanding for a flawless, uniform surface.
Ever tried polishing aluminum only to find stubborn haze, scratches, or dull spots that just won’t go away? If so, you’re not alone. Polishing alone can’t fix deep oxidation, heavy scratches, or the roughness of raw aluminum. That’s where sanding comes in—a crucial step for anyone wanting to know how to sand and polish aluminum wheels, restore scratched trim, or bring raw aluminum to a mirror shine.
So, when should you sand? Consider sanding if:
Think of sanding as leveling the playing field: it removes imperfections so the polish can do its job. Skipping this step often means the final finish will be less than perfect.
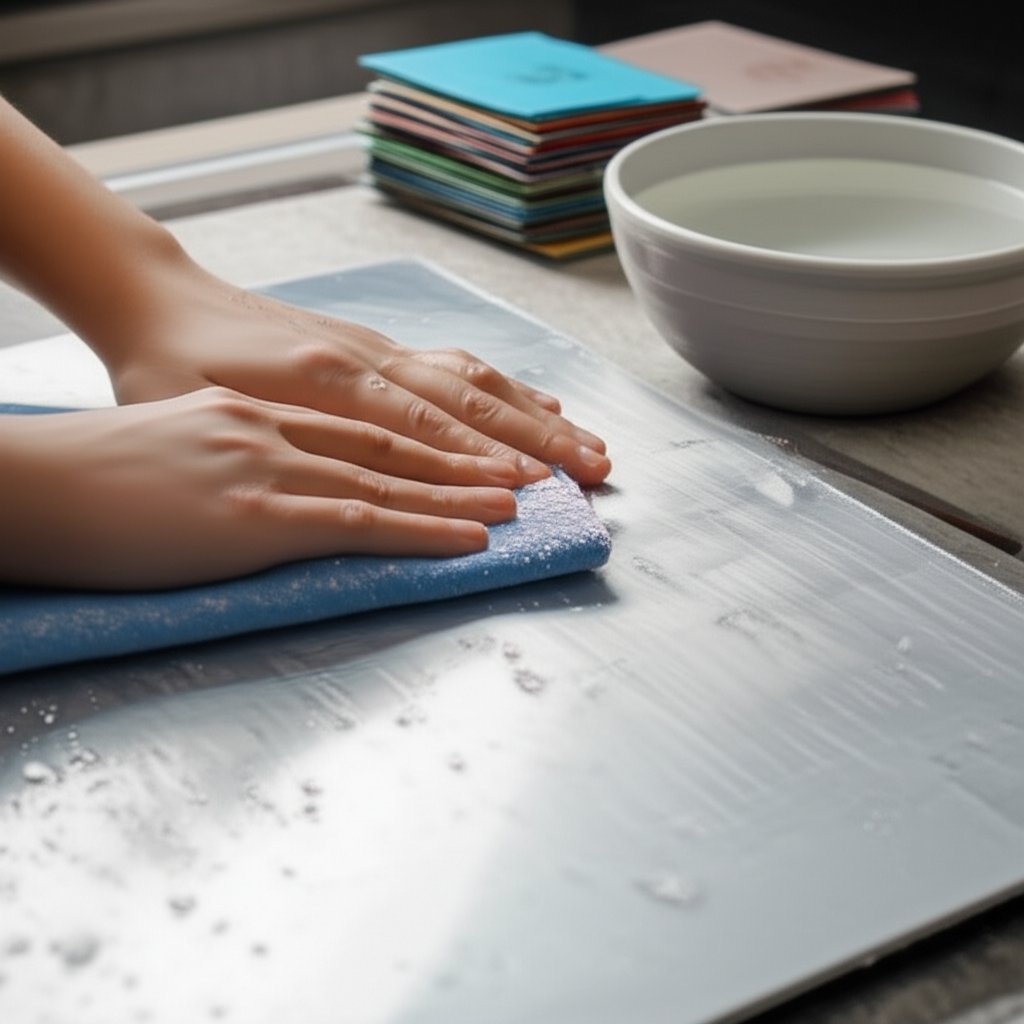
Sounds complex? Wet sanding is actually straightforward—and it’s the secret to a professional, swirl-free finish. Here’s why it works:
Before you start, soak your sandpaper (preferably silicon carbide or aluminum oxide, labeled for wet/dry use) in water for 5-15 minutes. This makes the paper more flexible and less likely to clog. For extra lubrication, you can use a bit of mild soap or even WD-40 on bare aluminum. Always sand in straight, overlapping motions—never circles—and follow the grain of the metal if visible. Switch directions between grits to help erase old scratch patterns.
Use light, even pressure. Pressing too hard can gouge the aluminum, making the job harder in the next stage. After each grit, wipe the surface clean and inspect for remaining scratches. If needed, repeat the current grit before moving finer. Patience here pays off with a flawless final result.
Not sure which grit to start with or when to move up? Here’s a proven progression for how to get scratches out of polished aluminum, wheels, or raw parts. Never skip grits—each stage removes the marks left by the previous one, and jumping ahead can leave visible scratches or haze.
| Stage | Grit Range | Purpose | Expected Finish |
|---|---|---|---|
| Heavy Removal | 220–320 | Removes deep scratches, heavy oxidation, curb rash | Matte, uniform but visibly sanded |
| Smoothing | 400–600 | Eliminates coarse grit marks, evens out surface | Satin, smoother feel, minor scratches only |
| Refinement | 800–1200 | Prepares for polishing, removes fine scratches | Semi-gloss, nearly smooth to the touch |
| Final Finish | 1500–3000 | Optional for ultra-high gloss or mirror finish | Glossy, ready for polishing compound |
For most how to polish raw aluminum projects, stopping at 1200–1500 grit is sufficient if you want a clean, bright look. For a true mirror finish, go up to 2000–3000 grit before moving on to polishing compound.
Remember, patience and consistency are your best tools. Take your time with each stage, and you’ll be rewarded with a flawless, professional-grade surface that’s ready for polishing. Up next, we’ll show you how to bring out that shine—by hand or machine.
Ever found yourself staring at a set of aluminum rims, a boat cleat, or a piece of trim with curves and corners that just won’t fit a machine polisher? That’s where knowing how to polish aluminum by hand truly shines. Hand polishing is not only approachable for beginners, but it’s also the best method for small items, hard-to-reach spots, and detailed work where precision matters. Imagine restoring a neglected trailer hitch or a set of vintage wheels—a little elbow grease can make all the difference.
Ready to get started? Here’s a practical, step-by-step approach to hand polishing aluminum:
Wondering about product choices? Many enthusiasts ask how to use Mothers Mag and Aluminum Polish—the answer is simple: follow the same steps above, using only a small dab per section to avoid over-application and streaking.
Hand polishing isn’t just a fallback—it’s a skill that lets you tackle the most challenging details with confidence. Once you’ve mastered this approach, you’ll be ready to handle everything from how to polish aluminum rims by hand to restoring delicate trim. And if you ever find that hand methods can’t quite deliver the uniform shine you want, don’t worry—the next section will guide you through machine polishing for speed and consistency on larger surfaces.
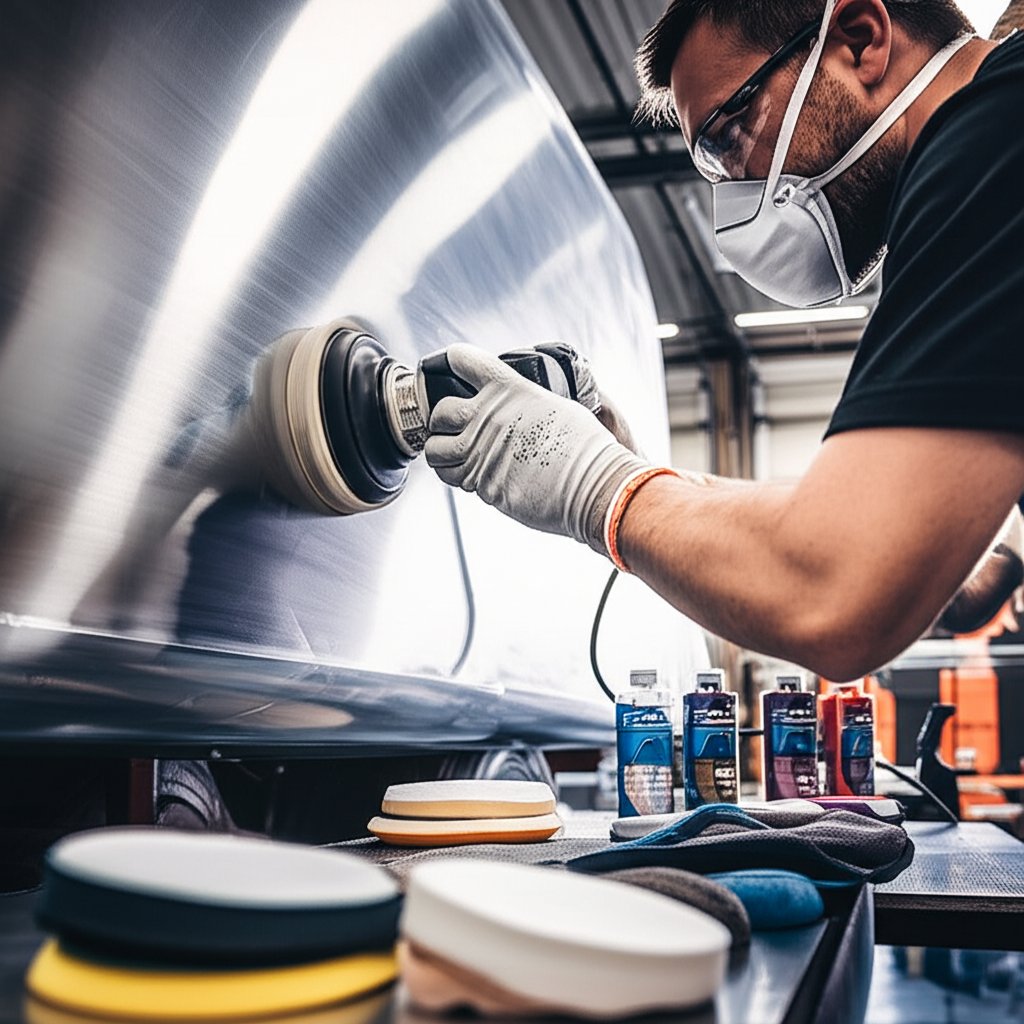
When you’re faced with a large, flat surface—think diamond plate, trailer siding, or a set of aluminum wheels—hand polishing can quickly become overwhelming. That’s when learning how to polish aluminum with a buffer or a dual-action (DA) polisher makes all the difference. But before you power up, let’s break down the tools and pads that get results without risking damage.
Now, let’s talk pads. The choice between wool, foam, and microfiber pads directly impacts your results:
Ready to tackle those big surfaces? Here’s a proven process for how to buff and polish aluminum using a machine:
Pro tip: Always use a dedicated pad for each type of compound. Mixing abrasives can dull your finish.
"Aluminum isn’t forgiving like car paint. If you don’t remove the defects in the first step, you’re not going to remove them in the next. Always nail each stage—especially with machine polishing. And to avoid burning or warping the metal, keep the tool moving, use moderate speed, and never let the pad dry out."
— Joe Fernandez, professional aluminum detailer
Machine polishing can transform dull, oxidized aluminum into a brilliant, chrome-like surface—fast. But remember: the right pad, careful speed control, and a multi-step approach are key to flawless results. If you notice haze or swirl marks after the first pass, don’t worry—the next section will guide you through the advanced steps for a true mirror finish.
Ever wondered how car show enthusiasts or boat restorers get that glass-like shine on aluminum wheels and trim—so bright you can see your reflection? Achieving a true mirror finish on aluminum isn’t just about buffing harder or using a shinier polish. It’s a carefully layered process that removes all micro-scratches, haze, and oxidation, revealing a flawless, chrome-like surface. The secret? Patience, the right abrasives, and a step-by-step approach that leaves nothing to chance.
Let’s break down the science: Aluminum’s softness means it scratches easily, so every sanding or polishing stage must completely erase the marks from the previous one. If you skip a step or rush ahead, you’ll see faint lines or cloudiness—even after hours of buffing. That’s why a true mirror polish always begins with a perfectly smooth foundation and ends with ultra-fine compounds and meticulous technique.
Ready to learn how to polish aluminum to a mirror finish? Whether you’re working on wheels, trim, or flat panels, the process is remarkably similar. The goal: erase every imperfection, then refine the surface until it gleams like chrome. Here’s a proven step-by-step method:
Imagine seeing every detail of your garage reflected in your newly polished aluminum wheel or trim. That’s the level of clarity you can expect with the right approach. But what if you still notice a faint haze or streaks?
Achieving a mirror finish on aluminum is a test of technique and patience—but the payoff is a surface that rivals chrome in both clarity and wow-factor. Whether you’re looking to mirror polish aluminum for show, function, or pride, these steps will get you there. And if you encounter stubborn haze or imperfections, don’t worry—the next section will guide you through troubleshooting and perfecting your results.
Imagine this: you’ve spent hours sanding, buffing, and polishing, only to notice stubborn haze, black residue, or water spots clouding your aluminum’s shine. Sounds frustrating? You’re not alone. Even seasoned pros run into issues that can leave a perfect polish just out of reach. The good news? Most problems have straightforward solutions—if you know what to look for.
Below is a troubleshooting table that covers the most frequent issues you’ll encounter when learning how to get water spots off polished aluminum, remove scratches, or fix curb rash. Each problem is matched with its likely cause and a practical solution, so you can quickly get back on track.
| Problem | Cause | Solution |
|---|---|---|
| Hazing / Cloudiness | Incomplete removal of sanding marks; polish residue embedded in grain; using the wrong polish or pad | Re-sand with finer grit (e.g., 1500–3000), thoroughly clean surface, then repolish with a finishing compound. For persistent gray milky areas, try acid washing with a phosphoric acid cleaner, then buff again. |
| Swirl Marks | Using too aggressive a pad or compound for finishing; improper machine speed; skipping grit steps | Polish again with a softer foam or microfiber pad and an ultra-fine finishing compound. Always follow the correct grit progression and keep the pad clean to avoid reintroducing scratches. |
| Black Residue | Oxidation reacting with polish; polish trapped in pits or scratches | Wipe away immediately with a clean microfiber cloth. If residue persists in pits, use a solvent like mineral spirits and a soft brush, then repolish. For severe pitting, sanding may be required before polishing. |
| Water Spots | Mineral deposits left after air drying, especially after rain or washing | Use a chamois to dry surfaces immediately after rinsing. For existing spots, apply a mild acid cleaner (like vinegar-water solution or dedicated water spot remover) and gently buff with a soft cloth. For stubborn spots, repeat as needed. |
| Deep Scratches | Improper sanding technique; using the wrong abrasive; excessive pressure during polishing | Sand the affected area starting with a coarse grit (e.g., 400), then progress through finer grits (600, 1200, up to 3000). Always use aluminum oxide sandpaper and finish with a polishing compound for best results. |
| Curb Rash on Wheels | Physical impact with curbs or debris, leading to gouges and rough edges | Clean the area, sand with 400 grit to smooth out damage, fill with aluminum putty if needed, then sand with 600 and 1200 grit. Repaint if required, apply clear lacquer, and finish with aluminum polish for a seamless blend. |
Hazy or cloudy finishes are a common frustration, especially after what seems like a thorough polish. Often, this is due to skipping grit steps, using the wrong pad, or not fully removing polish residue. Sometimes, certain polishes can embed themselves into the grain of the aluminum, causing persistent gray areas. In these cases, acid washing with a mild phosphoric acid solution can help restore clarity, by a careful re-polish with a finishing compound.
Scratches and swirl marks can be discouraging, but they’re also among the most fixable issues. If you’re wondering how to get scratches out of polished aluminum wheels, start by identifying the depth of the scratch. For deep marks, use a stepwise sanding approach—starting with a coarse grit and working up to a fine finish—before repolishing. For minor swirls, a softer pad and a high-quality finishing polish are usually all you need. Always use a clean pad for each stage and avoid cross-contaminating compounds to maintain a flawless shine (source).
By understanding these common pitfalls and their solutions, you’ll be able to tackle any challenge—whether it’s learning how to fix curb rash on polished aluminum rims or simply keeping your finish free from water spots. Up next, you’ll discover how to protect that perfect shine and keep your aluminum looking brilliant for the long haul.
Imagine spending hours perfecting your aluminum’s mirror finish—only to watch it dull and oxidize after a few weeks. Frustrating, right? The truth is, even the best polish won’t last unless you take steps to protect your hard work. So, how do you keep polished aluminum from oxidizing and maintain that dazzling shine?
The answer lies in a protective barrier. By sealing the surface, you lock out moisture, air, and contaminants that cause corrosion and dullness. There are several proven options—each with unique strengths and trade-offs.
Let’s break down the three most popular ways to protect polished aluminum—so you can choose what’s right for your project, whether it’s wheels, trim, or boat rails:
Keeping polished aluminum shiny isn’t a one-time job—it’s about consistent, gentle care. Here’s a simple maintenance routine to help you care for polished aluminum wheels and other surfaces:
Pro tip: For anodized or specialty-coated aluminum, always follow manufacturer guidelines and avoid abrasive cleaners.
By choosing the right protection and staying on top of maintenance, you’ll keep your aluminum surfaces gleaming and guard against the return of oxidation. Up next, we’ll wrap up the guide with key takeaways and tips for starting your next project with the highest-quality materials.
After exploring every step of how to polish aluminum—from deep cleaning and careful sanding, to hand or machine buffing, and finally protecting your brilliant finish—you’re now equipped to tackle almost any project, whether you’re restoring vintage wheels, renewing a boat hull, or upgrading a trailer. Here’s a quick checklist to keep your results flawless every time:
Imagine standing back and seeing your reflection in that newly polished aluminum trailer or boat—proof that patience and the right process really do pay off.
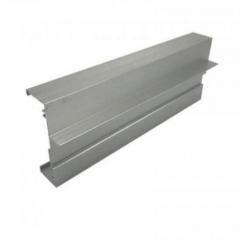
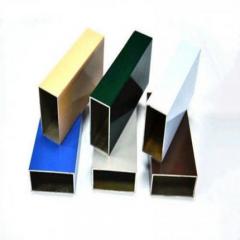
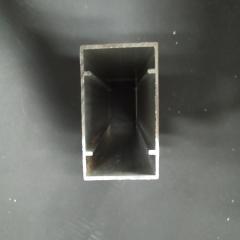
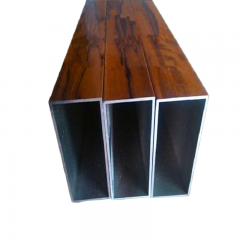
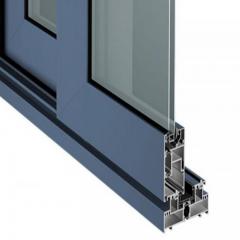
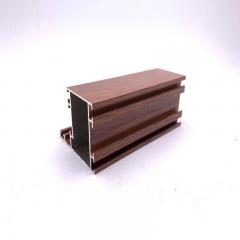
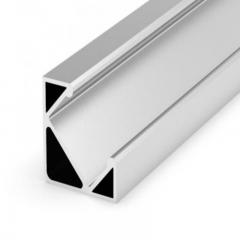
But what if you’re starting a new build rather than restoring an old one? Here’s a question many overlook: Does the quality of aluminum matter for polishing results? Absolutely. Using premium aluminum alloy, especially for projects like trailers, architectural details, or marine applications, makes the entire process smoother and the final finish more durable and brilliant. High-grade alloys such as 6061 or 6063 are engineered for strength, corrosion resistance, and ease of finishing, making them ideal for both structural and decorative uses. Pre-finished or powder-coated options can further streamline your project by offering a durable, ready-to-use surface from day one.
For those planning new projects—whether it’s how to polish aluminum alloy for a custom trailer or a sleek boat railing—partnering with an experienced supplier is key. Companies like Shengxin Aluminum provide a broad range of high-quality, pre-finished aluminum profiles, including powder-coated and anodized tubing, that can save you time and ensure a professional result. The right material not only makes polishing easier, but also guarantees a longer-lasting, more impressive finish.
Ready to take your next project from concept to completion? Start with the best materials, follow the proven steps in this guide, and you’ll enjoy brilliant, mirror-like aluminum surfaces—whether you’re working on a restoration or building something entirely new.
The simplest method is to thoroughly clean the aluminum with a mild detergent, then apply a quality aluminum polish using a soft cloth. Rub in gentle, consistent motions and buff to a shine. For tougher jobs or larger surfaces, using a dual-action polisher and a dedicated polishing compound can speed up the process and deliver a more uniform finish.
To achieve a shiny or mirror-like finish, start by cleaning and sanding the surface with progressively finer sandpaper, moving up to 3000 grit or higher. Next, use a cutting compound to remove fine scratches, by a finishing compound for ultimate clarity. Buff the surface thoroughly and seal with wax, sealant, or ceramic coating to maintain the shine.
WD-40 can clean and temporarily enhance the appearance of aluminum, giving it a brushed or slightly glossy look. However, it won't create a true mirror finish like dedicated aluminum polishes. For long-lasting, high-gloss results, it's best to use specialized aluminum polishing compounds and protective coatings.
Protect polished aluminum by applying a barrier such as carnauba wax, a synthetic sealant, or a ceramic coating. Regular cleaning, prompt removal of water spots, and occasional reapplication of your chosen protectant will help prevent oxidation and keep surfaces looking bright.
Sanding is essential if the aluminum is heavily oxidized, scratched, or unfinished. Sanding with the correct progression of grits removes imperfections and creates a smooth base for polishing. Skipping this step can result in a dull or uneven finish, even after polishing.


 Интернет Сервис
 0086 136 3563 2360
 sales@sxalu.com
 +86 136 3563 2360
 русский
 English
 français
 Deutsch
 español
 português
 العربية
 ไทย
ไทย Việt
Việt Українська