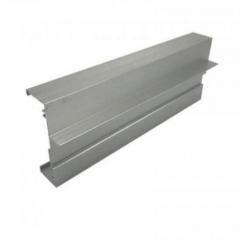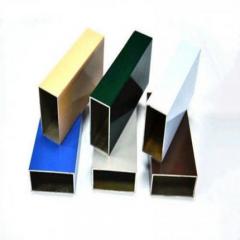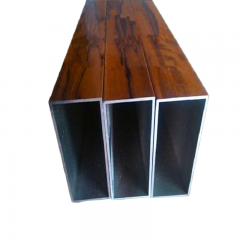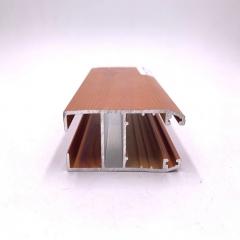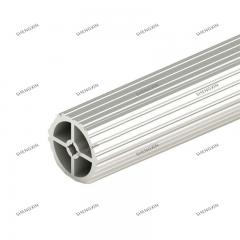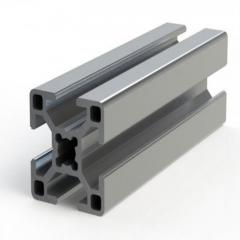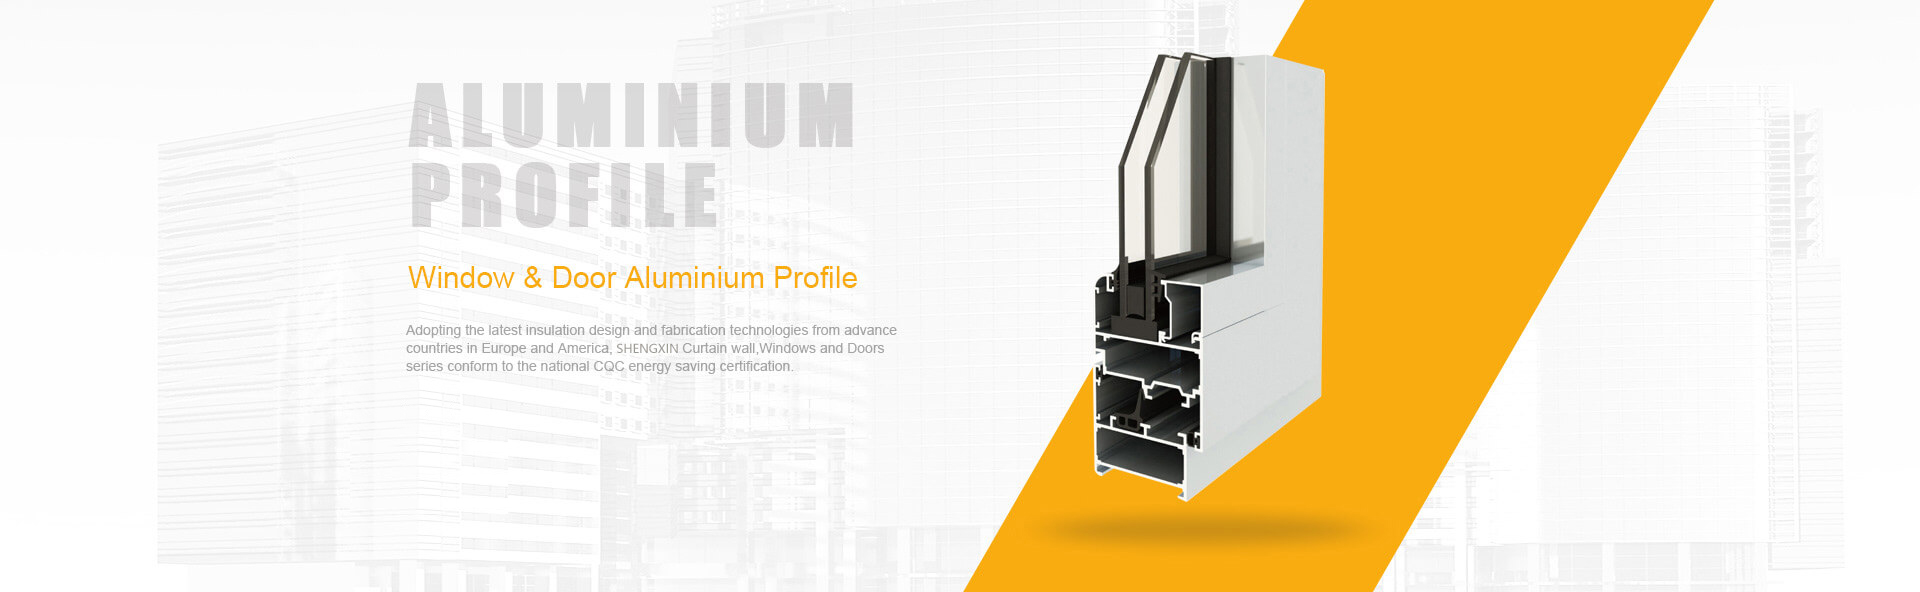
Ever picked up an aluminum product and noticed how some feel smooth and resilient while others scratch easily or show signs of wear? The difference often comes down to one critical finishing process: anodizing. When you combine the versatility of extruded aluminum profiles with the protective power of anodizing, you get a material that performs exceptionally across countless applications.
So what exactly is anodized aluminum extrusion? Simply put, it refers to aluminum shapes created through the extrusion process that have undergone an electrochemical treatment to enhance their surface properties. This treatment transforms the outer layer of the metal into a durable, corrosion-resistant oxide coating that becomes an integral part of the aluminum itself.
Raw aluminum extrusions naturally develop a thin oxide film when exposed to air. However, this native layer measures only a few nanometers thick and offers minimal protection. It's nonuniform, inconsistent, and provides limited defense against corrosion or wear.
Anodized extruded aluminum, on the other hand, features a deliberately engineered oxide layer that can be 1,000 times thicker than what forms naturally. This enhanced layer delivers several key advantages:
Unlike paints or powder coatings that sit on top of the metal surface, anodizing actually becomes part of the aluminum itself. This means the protective layer cannot chip, peel, or delaminate because it's chemically bonded to the substrate at the molecular level.
Sounds complex? Let's break it down. The anodizing process works by using electricity to accelerate and control what aluminum does naturally - form an oxide layer. Here's how it happens:
First, the aluminum extrusion is connected to the positive terminal of an electrical circuit, making it the "anode" (which is where the process gets its name). The part is then submerged in an acid electrolyte bath, typically sulfuric acid for most commercial applications.
When electrical current flows through the system, something fascinating occurs. The cathode (negative terminal) attracts positive metal ions away from the aluminum surface. Simultaneously, negative oxygen ions from the electrolyte solution are drawn to the aluminum. These oxygen ions bond directly with aluminum atoms at the surface, building up a layer of aluminum oxide (Al2O3).
As this oxide layer grows, the aluminum surface becomes porous with a columnar structure. Imagine millions of tiny honeycomb-like cells forming across the surface. These pores serve a crucial purpose - they can accept dyes for coloring or be sealed to lock in protection.
The final step involves sealing these pores, typically through immersion in hot deionized water or specialized sealing solutions. This sealing process fills the porous structure, creating a smooth, durable surface that resists staining and further enhances corrosion resistance.
What makes anodized aluminum extrusions particularly valuable is that this protective treatment can be precisely controlled. By adjusting factors like electrolyte composition, temperature, current density, and processing time, manufacturers can tailor the oxide layer thickness and properties to match specific application requirements - from decorative architectural trim to heavy-duty industrial components.
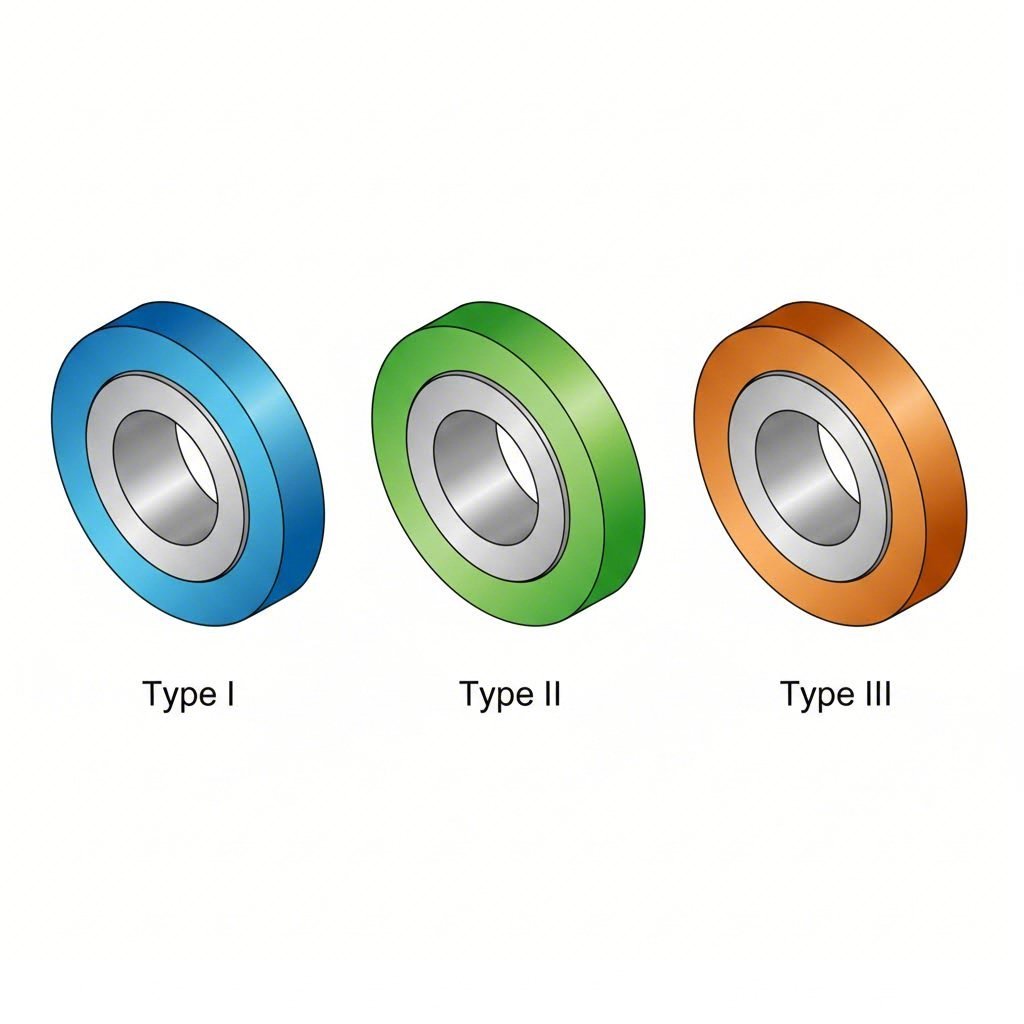
Now that you understand how anodizing works, here's where things get interesting. Not all anodized finishes are created equal. The military specification MIL-A-8625 defines three primary types of anodizing, each engineered for different performance demands. Choosing the wrong type can mean the difference between a product that thrives and one that fails prematurely.
Whether you're sourcing aluminium extrusion profiles for architectural facades or large aluminium extrusions for aerospace components, understanding these distinctions helps you specify exactly what your application requires.
Type I anodizing uses chromic acid as its electrolyte, producing the thinnest oxide layers of all three types - typically between 0.5 and 7.6 microns. You might wonder why anyone would choose a thinner coating. The answer lies in specific engineering requirements.
Aerospace manufacturers favor Type I for several compelling reasons:
Color appearance varies from clear to dark gray depending on the aluminum alloy. Copper-bearing alloys like the 2xxx series will only yield gray tones. According to MIL-A-8625, Type I coatings must pass a minimum 336-hour salt spray test, demonstrating robust corrosion resistance despite the thin profile.
There's also Type IB, a low-voltage variation (around 20 volts) specifically designed for 7xxx series alloys that don't respond well to conventional chromic acid processes. Type IC provides a non-chromic alternative for applications requiring environmental compliance while maintaining similar performance characteristics.
When you're evaluating an extruded aluminum profile for architectural, consumer, or industrial use, the decision typically comes down to Type II versus Type III. Both use sulfuric acid electrolytes, but that's where the similarities end.
Type II sulfuric acid anodizing represents the most common commercial process. With coating thicknesses ranging from 1.8 to 25.4 microns, it offers an excellent balance of protection, aesthetics, and cost-effectiveness. This is your go-to choice for:
Type II excels at color acceptance. The porous oxide structure readily absorbs organic and inorganic dyes, enabling virtually unlimited color options from subtle champagne tones to bold primary colors.
Type III hardcoat anodizing takes protection to another level entirely. Operating under more demanding process conditions - near-freezing sulfuric acid baths and voltages upward of 100 volts - this process creates dense, exceptionally hard coatings between 12.7 and 115 microns thick.
What makes hardcoat distinctive? The coating penetrates the base aluminum as much as it builds up on the surface. For a typical 0.002-inch (50 micron) specification, half penetrates inward while half builds outward. This creates a ceramic-like surface with remarkable properties:
However, Type III isn't suitable for every alloy or application. Maximum achievable thickness varies significantly by alloy composition - 6063 can reach 0.004 inches while copper-bearing 2024 may only achieve 0.0015 inches.
| Characteristic | Type I (Chromic Acid) | Type II (Sulfuric Acid) | Type III (Hardcoat) |
|---|---|---|---|
| Oxide Layer Thickness | 0.5 - 7.6 microns | 1.8 - 25.4 microns | 12.7 - 115 microns |
| Corrosion Resistance | Good (336 hr salt spray) | Excellent (1,000 - 3,000 hr salt spray) | Good to Excellent (when sealed) |
| Wear Resistance | Low | Moderate | Exceptional |
| Color Options | Limited (clear to gray) | Unlimited (dyes readily accepted) | Limited (gray/bronze/black natural; black dye common) |
| Typical Applications | Aerospace, fatigue-critical parts, paint base | Architectural, consumer products, decorative | Hydraulic cylinders, pistons, gears, valves, military hardware |
| Cost Considerations | Higher (chromic acid handling/disposal) | Most economical | Higher (extended process time, energy intensive) |
So when should you specify each type? Consider Type I when fatigue life and dimensional precision outweigh surface hardness requirements. Choose Type II for the vast majority of commercial and architectural applications where aesthetics, color, and moderate protection matter most. Reserve Type III for demanding industrial environments involving sliding contact, high wear, or extreme operating conditions.
Understanding these distinctions positions you to make informed decisions - but there's another critical factor that dramatically influences your anodizing results: the aluminum alloy itself.
Here's a question that often gets overlooked until it's too late: why do two aluminum extrusions processed through identical anodizing conditions sometimes emerge looking completely different? The answer lies upstream - in the alloy selection made long before the profile ever enters the anodizing tank.
Your choice of aluminum alloy fundamentally determines what's possible with the finished surface. Select wisely, and you'll achieve consistent, vibrant results that meet the most demanding specifications. Choose poorly, and you'll face streaking, color mismatch, or surface defects that no amount of process adjustment can correct.
When architects and designers specify clear anodized aluminium for building facades, window systems, or decorative trim, there's a reason 6063 dominates the conversation. This alloy has earned its reputation as the gold standard for anodizing quality.
What makes 6063 so exceptional? It comes down to chemistry. According to Mill Steel Company, 6063's lower alloying content enhances its surface finish and makes it easier to extrude into complex shapes. The alloy's composition - primarily aluminum with modest amounts of magnesium and silicon - creates an ideal foundation for oxide layer formation.
When you anodize 6063, you'll notice several distinct advantages:
The thermal conductivity of 6063 also provides practical benefits beyond aesthetics. Rapid Axis notes that 6063 carries heat away faster than 6061, giving it an edge for heat-sink or architectural glazing profiles exposed to sun load. This characteristic makes it particularly valuable for applications where both appearance and thermal performance matter.
Imagine ordering black extruded aluminum profiles for a high-visibility retail installation, only to discover upon delivery that some pieces appear charcoal gray while others look nearly jet black. This nightmare scenario happens more often than you'd expect - and it almost always traces back to alloy inconsistency or poor alloy choice.
Every alloying element added to aluminum affects the anodizing outcome in specific ways:
Consider the practical implications when choosing between common alloys:
The connection between upstream extrusion decisions and downstream finishing quality cannot be overstated. When you specify the wrong alloy during the design phase, you're essentially guaranteeing finishing problems that no amount of process tweaking can solve. Conversely, selecting 6063 for applications requiring premium clear anodized aluminium or consistent dyed colors virtually eliminates alloy-related quality issues.
Here's the strategic insight many overlook: working with your extrusion supplier early in the design process allows you to optimize alloy selection based on both structural requirements and finish expectations. This integrated approach prevents the costly cycle of producing parts, anodizing them, discovering unacceptable finish quality, and starting over with different material.
With alloy selection understood, the next consideration is equally important for achieving your desired aesthetic - the range of colors and decorative finishes available through various anodizing techniques.
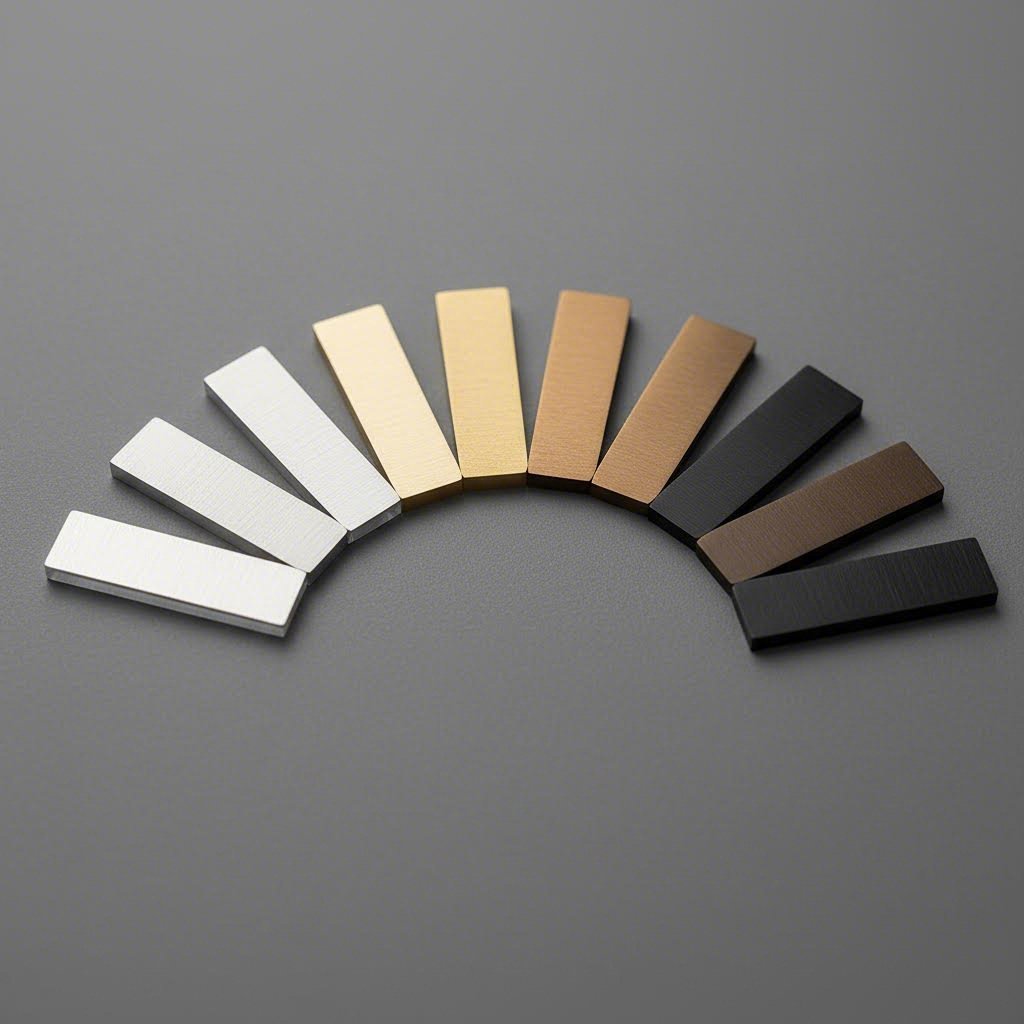
You've selected the perfect alloy and specified the right anodizing type - now comes the exciting part. The color possibilities for anodized aluminum extrusions extend far beyond basic silver or black. From subtle champagne anodised aluminium tones that evoke understated elegance to bold custom hues that reinforce brand identity, the aesthetic options available today rival virtually any finishing method.
What makes anodized color unique? Unlike paint or powder coating that sits on top of the metal, anodized colors integrate directly into the oxide layer structure. This means the color can't peel, chip, or flake off - it's literally part of the aluminum itself. Understanding how these colors are achieved helps you specify exactly what your project requires.
Remember those honeycomb-like pores formed during anodizing? They're not just protective - they're the key to color. Two primary methods introduce color into these porous structures, each with distinct advantages.
Electrolytic coloring deposits metal salts directly into the oxide pores using an AC or DC electrolytic bath after the initial anodizing step. Different metal salts produce different colors:
The depth of color depends on processing time and applied voltage - longer exposure creates darker shades. This method excels for bronze anodized aluminum and earth-tone applications because colors are exceptionally UV-stable and maintain uniformity even across large architectural panels.
Organic dye coloring takes a different approach. After anodizing, the part is immersed in a dye bath where the porous coating absorbs color molecules. This method opens up a dramatically wider spectrum - reds, blues, greens, purples, oranges, and virtually any custom shade imaginable.
However, not all dyes perform equally outdoors. According to finishing industry specifications, dyes receive light fastness ratings from 1 (poor) to 8+ (architectural grade). Only dyes rated 8+ should be specified for exterior applications where UV exposure and weathering are concerns.
Overdye (combination coloring) merges both techniques for enhanced performance. The process applies electrolytic color first - typically champagne or light bronze - then follows with organic dye. This approach delivers more color options while the electrolytic base layer significantly improves light fastness. It's particularly valuable for achieving colors like olive, turquoise, or custom brand shades that must withstand years of outdoor exposure.
When specifying black aluminum extrusion or any colored finish, the surface texture matters as much as the color itself. The pre-anodize surface preparation determines the final visual character:
Among the most requested color options, champagne and bronze tones deserve special attention. Champagne anodised aluminium offers warm, sophisticated undertones that complement both modern and traditional architectural styles. Bronze anodized aluminum ranges from light honey tones through medium bronze to deep, nearly black variations - all achieved through precise control of the electrolytic coloring process.
Clear anodizing remains a staple, preserving aluminum's natural metallic appearance while adding substantial protection. For applications requiring the distinctive look of raw aluminum without the maintenance headaches, clear anodized finishes deliver the best of both worlds.
The durability of these finishes varies by coloring method and application environment. Industry testing shows that properly sealed anodized colors maintain their appearance for 10-20+ years outdoors and 20-40 years in interior applications. Electrolytic colors generally outperform organic dyes in UV resistance, while high-quality sealed dye finishes can achieve excellent longevity when properly specified.
For architectural applications, compliance with AAMA 611 specifications ensures your finish meets established standards for coating thickness, seal quality, corrosion resistance, and - critically - color stability. This specification limits allowable color change to 5 delta E after weathering exposure, ensuring your building facade or storefront maintains its intended appearance for decades.
With color options understood, the next step is ensuring your extrusion design itself supports optimal anodizing results - because even the perfect color specification can be undermined by design choices that create finishing challenges.
Picture this scenario: you've carefully selected 6063 aluminum, specified Type II anodizing with a beautiful champagne finish, and awaited delivery of your custom t slot aluminum profile. When the parts arrive, some sections show uneven coloring while sharp edges appear burned or rough. What went wrong?
The answer often lies in design decisions made long before anodizing ever begins. The geometry of your aluminum extrusion - wall thickness variations, corner radii, and surface conditions - directly impacts how the oxide layer forms. Understanding these factors helps you avoid costly rework and achieve consistent, high-quality finishes every time.
When electrical current flows through aluminum during anodizing, it doesn't distribute evenly across complex geometries. Sharp corners concentrate current like lightning rods, while thick sections cool slower than thin ones. These physical realities create predictable challenges that smart design can prevent.
According to Hydro's engineering guidelines, profiles with large variations in wall thickness cool unevenly after extrusion. This uneven cooling creates structural differences that become visibly pronounced after anodizing - appearing as color variation or surface texture inconsistencies that no process adjustment can eliminate.
Sharp projections present another challenge. During anodizing, current density increases dramatically at pointed edges and sharp corners. This causes what finishers call "burning" - darkened, roughened areas where the oxide layer grows too quickly and becomes damaged. Industry experts note that burning typically appears at sharp corners or edges when current density exceeds appropriate levels.
Here are the critical design factors to address during your aluminum t rail or t aluminum profile development:
The connection between die design and anodizing outcomes deserves emphasis. When you work with your extrusion supplier to optimize profile geometry for manufacturability, you're simultaneously optimizing for finishing quality. Radiused corners, uniform walls, and symmetrical shapes aren't just easier to extrude - they're easier to anodize beautifully.
Even a perfectly designed profile with ideal geometry can produce disappointing results if surface preparation is inadequate. The condition of the aluminum surface before it enters the anodizing tank determines what comes out.
Think of anodizing as an amplification process. Any contamination, scratch, or inconsistency on the raw surface becomes more visible after the oxide layer forms. Industry standards emphasize that successful aluminum anodizing depends on initial preparation - manufacturers require a defect-free, clean surface for optimal results.
Professional surface preparation typically involves these sequential steps:
Masking considerations also play a critical role when specific areas must remain unanodized:
When quality issues arise, identifying root causes quickly saves time and money. Here are the most common problems and their solutions:
Streaking or color banding - Usually indicates variations in the base metal's grain structure or composition. This often traces back to extrusion process inconsistencies rather than anodizing problems. Solutions include ensuring proper homogenization of billet material and consistent extrusion temperatures.
Color variation between parts - Can stem from inconsistent alloy composition, contamination in the anodizing bath, temperature fluctuations, or improper sealing. Ensure consistent cleaning and deoxidizing, maintain strict control over bath chemistry and temperature, and monitor sealing conditions carefully.
Soft spots or incomplete coating - Often caused by poor electrical contact during processing or contamination preventing oxide formation. Verify that racking provides secure, consistent contact across all surfaces. Check for residual oils or other contaminants that may have survived the cleaning process.
Pitting - Small holes or craters typically result from chloride contamination in process baths or inadequate rinsing between steps. Use deionized water for all rinses and monitor chloride levels closely. Implement proper handling procedures to avoid introducing contaminants during loading.
Uneven oxide thickness - Results from non-uniform current distribution caused by poor part positioning, inadequate agitation, or improper racking. Use tooling and racks designed for optimal part orientation and ensure uniform electrolyte agitation throughout the process.
The most effective quality control approach combines proactive design with rigorous process monitoring. By addressing geometry concerns during the design phase and implementing thorough surface preparation protocols, you eliminate the most common sources of anodizing defects before they can occur.
Design and preparation set the stage for success - but how does anodizing compare to alternative finishing methods? Understanding these options helps you determine when anodized aluminum extrusion truly offers the best solution for your application.
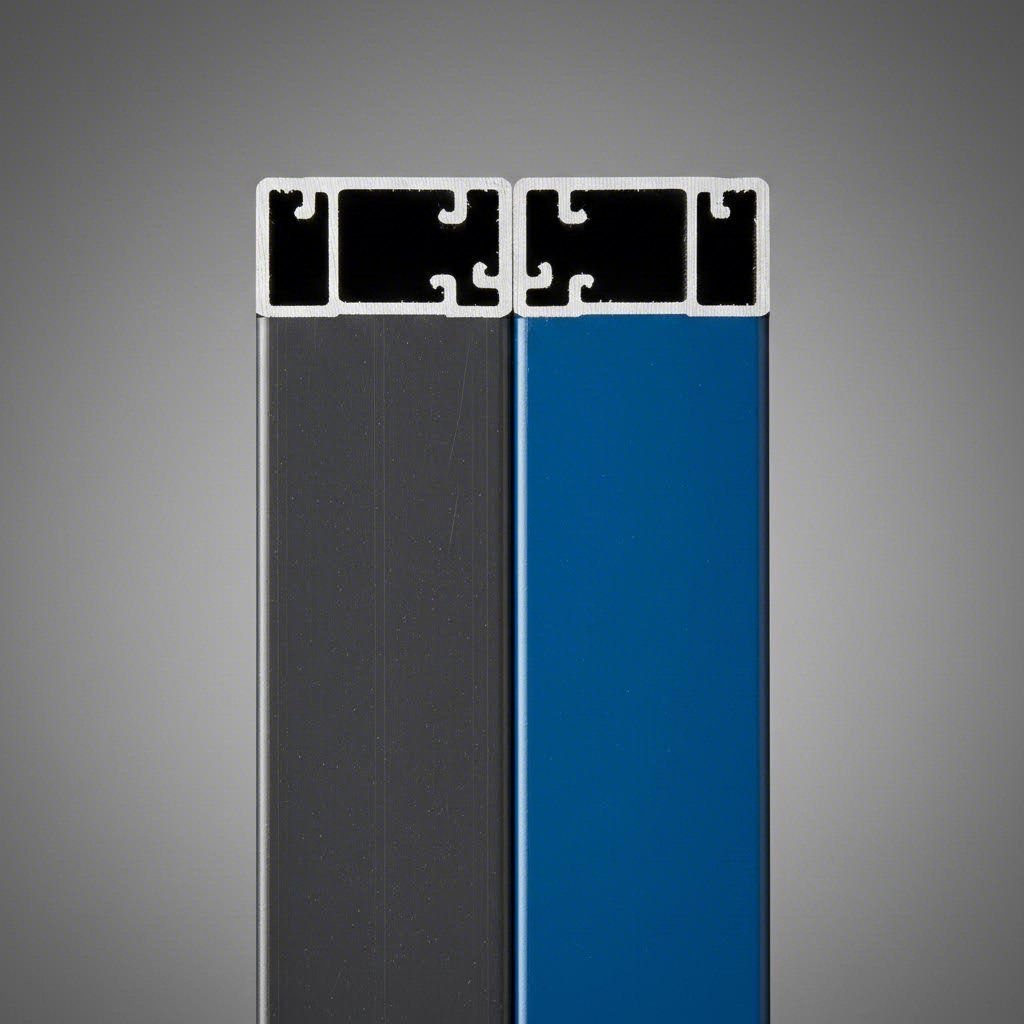
So you've explored anodizing in depth - but is it always the right choice? When you're specifying finishes for black aluminium extrusion or any aluminum profile, understanding how anodizing stacks up against alternatives helps you make confident decisions. Each finishing method brings distinct advantages, and the best choice depends entirely on your specific application requirements.
Let's cut through the confusion and compare anodizing directly with powder coating, PVDF coatings, painting, electroplating, and an advanced option called micro-arc oxidation. By the end, you'll have a clear framework for choosing the optimal finish for any project.
This matchup represents the most common decision point for architects, designers, and engineers. Both finishes deliver excellent protection - but they excel in fundamentally different ways.
Anodizing creates a surface that's integral to the aluminum itself. As Southern Aluminum Finishing explains, the coating grows from the base aluminum metal through an electrochemical process. It cannot peel or flake because it's chemically bonded at the molecular level. This makes anodizing exceptionally scratch-resistant - ideal for high-traffic applications like door frames, kick plates, and handrails.
Powder coating, on the other hand, sits on top of the metal surface. It's essentially paint without the solvent - pigment encapsulated in powdered resin that's cured through heat. The real advantage? Virtually unlimited color options. If you can imagine a color, powder coating can deliver it.
Here's what this means practically:
According to finishing industry experts, anodizing's superior abrasion resistance means it will outlast paint on a door stile, kick-plate or push/pull bar. This is why storefronts often specify anodizing for components receiving direct traffic contact while using powder coating for framing above eye level.
Beyond powder coating, two other finishing technologies deserve consideration for specific applications.
PVDF coatings (polyvinylidene fluoride) have come to dominate the curtainwall and metal roofing markets. These fluoropolymer coatings - sold under brands like Kynar 500 and Hylar 5000 - offer exceptional UV resistance and color retention over decades of outdoor exposure.
When should you choose PVDF over anodizing? Consider these scenarios:
The AAMA 2605 specification represents the most stringent standard for spray-coated architectural aluminum, requiring actual ten-year exposure testing in South Florida. PVDF coatings consistently pass this demanding protocol in the widest variety of colors.
Electroplating deposits thin metal layers onto aluminum through electrochemical processes. Common applications include decorative chrome plating for automotive trim and nickel plating for enhanced wear resistance. However, electroplating aluminum requires specialized pre-treatment (typically a zinc or nickel strike) because aluminum's natural oxide layer interferes with plating adhesion.
Electroplating makes sense when you need:
| Finishing Method | Durability | UV Resistance | Color Options | Cost | Thickness | Best Applications |
|---|---|---|---|---|---|---|
| Anodizing (Type II) | Excellent scratch/abrasion resistance; renewable through cleaning | Good to excellent (electrolytic colors superior) | Metallic tones, limited dye colors | Moderate | 5-25 microns | Storefronts, handrails, architectural trim, consumer electronics |
| Powder Coating | Good impact resistance; can chip or peel under severe abrasion | Good (varies by resin type) | Virtually unlimited | Low to moderate | 50-150 microns | Furniture, appliances, general architectural, industrial equipment |
| PVDF Coating | Excellent weathering; moderate abrasion resistance | Exceptional (20+ year color retention) | Wide range including custom colors | Higher | 25-35 microns | Curtainwall, metal roofing, exterior panels |
| Liquid Paint | Variable by resin; generally lower than powder | Good (PVDF-based) to poor (epoxy) | Unlimited | Moderate | 25-50 microns | Custom colors, small batches, touch-up applications |
| Electroplating | Good wear resistance; adhesion can be challenging on aluminum | Variable by metal deposited | Limited to metallic finishes | Higher | 5-50 microns | Decorative chrome, electrical contacts, specialized industrial |
When standard anodizing isn't tough enough, an advanced process called micro-arc oxidation (MAO) - also known as plasma electrolytic oxidation (PEO) - delivers performance that surpasses all conventional options.
What makes MAO different? According to technical comparisons, MAO applies voltages of 200V or higher, creating plasma discharges that form crystalline ceramic oxide layers. The result is a coating 2 to 4 times harder than conventional anodizing with dramatically improved durability.
Consider MAO when your application demands:
The process works exceptionally well on magnesium and titanium alloys in addition to aluminum, making it valuable for aerospace and high-performance automotive applications where lightweight metals must withstand punishing conditions.
With all these options available, how do you choose? Here's a practical framework organized by application category:
Architectural applications:
Industrial applications:
Consumer products:
Aerospace applications:
The aluminum finish of choice depends on the application and is not merely a matter of personal preference. Communicate your specific requirements with your finisher to select the optimal coating system.
Environmental considerations also factor into modern finish selection. Anodizing produces no VOCs and generates byproducts that are often beneficial - aluminum sulfate from anodizing plants' effluent can actually improve wastewater treatment plant efficiency. Powder coatings emit no VOCs during curing. PVDF and liquid paints face increasing regulatory pressure due to solvent emissions, though advances in formulation continue to address these concerns.
Understanding these finish options and their relative strengths positions you to specify exactly what each application requires. But finishing is just one consideration - how do specific industries apply these principles to meet their unique specification requirements?
Ever wonder why the anodized finish on your smartphone case looks pristine after years of daily handling, while a building facade across town shows noticeable weathering? The answer lies in how different industries specify and apply anodizing standards tailored to their unique operating environments.
Each sector - from architecture to aerospace - faces distinct challenges that demand specific anodizing solutions. Understanding these industry-specific requirements helps you navigate specifications confidently, whether you're sourcing components for a high-rise curtainwall or precision aerospace hardware.
When architects specify anodized aluminum extrusions for building applications, they rely on established industry standards to ensure long-term performance. The AAMA 611 specification serves as the cornerstone standard for architectural anodizing in North America.
AAMA 611 defines two distinct classes based on coating thickness and intended exposure:
Both classes must meet stringent South Florida weathering requirements - the industry benchmark for outdoor exposure testing. After 10 years of actual Florida exposure, finishes must maintain color retention within 5 Delta E (a measure of color change) and gloss retention within 15 units of original readings.
Beyond AAMA standards, architectural projects often require attention to:
Move from buildings to industrial equipment and aircraft, and the specification landscape shifts dramatically. Here, military specifications (MIL-SPEC) and aerospace material specifications (AMS) govern anodizing requirements with exacting precision.
Aerospace applications demand the most rigorous standards:
Automotive applications balance performance with practical considerations:
Consumer electronics present unique aesthetic and functional demands:
Successful anodizing outcomes require thinking beyond just the finishing process. A comprehensive lifecycle approach addresses every phase from initial design through long-term maintenance.
Design phase considerations:
Manufacturing and quality verification:
Installation and maintenance:
Even the best anodized finish requires proper care to maintain its appearance and protective properties over time. According to architectural restoration specialists, regular maintenance can prevent the need for costly restoration work.
Common causes of surface deterioration include:
Recommended maintenance practices include:
For high-traffic areas like entrances and door hardware, more frequent maintenance prevents the accumulation of wear that eventually requires refinishing. As restoration experts note, once anodizing becomes scratched or wears through to bare aluminum, replacement or repainting becomes the only option.
Understanding these industry-specific requirements and maintenance practices positions you for success - but there's one more practical consideration that often determines project outcomes: how to handle fabrication operations on anodized profiles without compromising the finish.
You've invested in premium anodized aluminum extrusion with the perfect alloy selection and flawless finish - now comes the critical question: how do you cut, drill, or machine these profiles without ruining everything you've worked to achieve?
Fabricating anodized profiles presents unique challenges that raw aluminum doesn't. That protective oxide layer you've carefully specified? It's harder than the base metal, more brittle, and behaves differently under cutting tools. Get the approach wrong, and you'll face chipped edges, exposed raw aluminum, and finish inconsistencies that undermine your entire project.
When you need to know how to cut extruded aluminum that's already anodized, tool selection and technique matter enormously. According to machining specialists, the anodized coating is usually harder than the base substance, which means cutting tools wear out more quickly than when working with non-anodized aluminum.
Here's what works - and what to avoid:
For t extrusion profiles and black aluminum h channel sections, edge quality becomes particularly visible. Any chipping or rough cutting immediately stands out against the uniform anodized surface. Using a gentle cutting force is essential - excessive pressure causes the brittle oxide layer to fracture or shatter rather than cut cleanly.
What about sawing operations? For production cutting of anodized profiles:
Here's a question that trips up many engineers: should you anodize before or after secondary machining operations? The answer depends entirely on what you're trying to achieve.
According to precision machining experts, anodizing before machining feels efficient only until the first batch of parts fails. Here's why this approach creates problems:
The oxide layer also behaves differently during machining. As industry specialists note, the oxide layer is harder and more brittle, so tools don't slice through it cleanly - they tend to scrape, chip, or fracture the coating. Edges that looked perfect before machining can develop tiny cracks, and corners may show slight flaking.
When to anodize after machining:
When anodizing before machining may work:
Critical exception - never anodize after tapping: Aluminum components should never be anodized after tapping. The oxide layer eats into the threads, changes their geometry, and weakens surrounding material. Tapped holes must be masked during anodizing or left bare.
When working with anodized profiles requiring precise cutting, drilling, and bending operations, CNC machining offers capabilities that manual operations simply cannot match.
For high-speed CNC milling of anodized aluminum, precision machining guidance recommends combining high tool rates with light cutting pressures. This approach produces accurate, smooth cuts while minimizing damage to both the anodized coating and the cutting instruments.
Key CNC considerations include:
For bending operations on anodized extrusions, the oxide layer's brittleness creates additional challenges. Tight bend radii can cause the coating to crack or craze. When bending is required, consider:
The bottom line? Successful fabrication of anodized aluminum extrusions requires planning the entire manufacturing sequence before production begins. By determining which operations happen before versus after anodizing - and using appropriate tools and techniques for each phase - you preserve finish quality while achieving the dimensional accuracy your application demands.
With fabrication considerations addressed, one final element determines project success: partnering with a manufacturer capable of delivering integrated extrusion and finishing services under one roof.
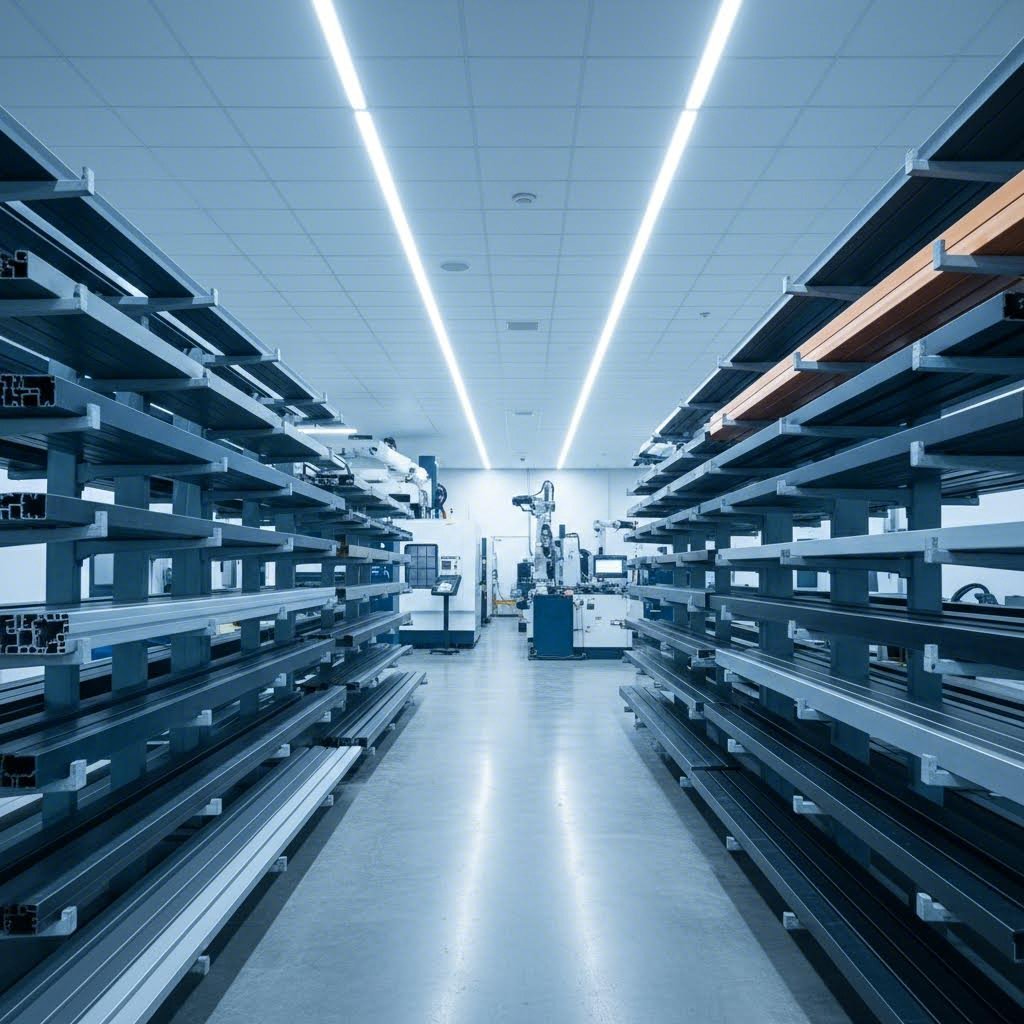
You've navigated alloy selection, anodizing types, color options, design considerations, and fabrication challenges. Now comes the decision that ties everything together: choosing a manufacturing partner capable of executing your vision from concept to completion.
Here's the reality many procurement managers learn the hard way - working with separate vendors for extrusion, anodizing, and machining creates coordination headaches, quality inconsistencies, and extended lead times. When problems arise, each vendor points fingers at the others. Finding an anodized aluminum supplier with truly integrated capabilities changes this dynamic entirely.
Not all custom anodized extrusion manufacturers are created equal. Before committing to a supplier relationship, evaluate these critical capabilities that separate professional operations from basic job shops:
One often-overlooked evaluation criterion: die design and maintenance capability. Many suppliers outsource die manufacturing, creating longer lead times and slower problem resolution when issues arise. Manufacturers with in-house die workshops can modify or repair dies quickly, ensuring production continuity and consistent quality throughout your project.
Imagine ordering anodized aluminum extrusions from a supplier who handles everything - die development, extrusion, surface treatment, and precision machining - within a single facility. This integrated aluminum finishing services approach delivers advantages that fragmented supply chains simply cannot match.
Quality consistency improves dramatically. When extrusion and anodizing occur under unified quality control, there's no finger-pointing between vendors. An extrusion that requires anodizing and drilling can be processed completely within one facility, ensuring batch consistency in both dimension and color. The same quality team monitors every step, catching issues before they compound.
Lead times compress significantly. Typical benchmarks for aluminum extrusion projects include 10-20 days for die manufacturing, 7-15 days for extrusion, and 5-10 days for surface finishing - totaling 4-6 weeks for standard projects. Integrated facilities eliminate transportation delays between subcontractors and streamline scheduling across operations.
Communication simplifies. One point of contact, one set of specifications, one quality standard. You won't spend time translating requirements between vendors or reconciling conflicting feedback about what's achievable.
Damage risk decreases. Every time profiles change hands - loading, shipping, unloading - handling damage becomes possible. Integrated processing reduces transportation between subcontractors and prevents the scratches, dents, and contamination that can occur during inter-facility transfers.
For example, Shengxin Aluminium demonstrates this integrated approach with 35 extrusion presses ranging from 600T to 5500T, comprehensive surface treatments including custom anodizing colors like Champagne and Rose Gold, and CNC machining capabilities for precision cutting, drilling, and bending. With over 30 years of experience and factory-direct pricing, this type of end-to-end manufacturer provides technical support from die development through mass production - exactly the integrated capability that simplifies complex projects.
Beyond capability evaluation, consider these practical factors when choosing your manufacturing partner:
The right manufacturing partner transforms your anodized aluminum extrusion project from a coordination challenge into a streamlined process. By selecting a supplier with genuine integrated capabilities - verified through the evaluation criteria discussed - you position your project for consistent quality, predictable timelines, and the professional results your application demands.
Yes, extruded aluminum is ideal for anodizing. The process involves immersing cleaned aluminum extrusions in an acid electrolyte bath where they act as an anode. When electrical current passes through, oxygen ions bond with aluminum atoms at the surface, creating a durable oxide layer up to 1,000 times thicker than natural oxidation. This layer becomes integral to the aluminum itself, providing superior corrosion resistance, hardness, and color acceptance. Alloys like 6063 deliver the best anodizing results due to their low alloying content and excellent surface finish characteristics.
The 720 rule calculates anodic oxide film growth rate based on current density during the anodizing process. It determines the time required to achieve a specific coating thickness. By selecting a particular current density, manufacturers can precisely control how thick the oxide layer becomes per unit of time. This rule is essential for achieving consistent results across Type I, II, and III anodizing processes, where coating thickness ranges from 0.5 microns for chromic acid anodizing up to 115 microns for hardcoat applications.
Type II sulfuric acid anodizing produces coatings of 1.8-25.4 microns, offering excellent color acceptance and corrosion resistance for architectural and decorative applications. Type III hardcoat anodizing creates much thicker coatings (12.7-115 microns) using near-freezing acid baths and higher voltages. The result is a ceramic-like surface with exceptional wear resistance comparable to case-hardened steel. Choose Type II for consumer products and building facades; specify Type III for hydraulic components, pistons, and industrial parts requiring extreme durability.
6063 aluminum alloy delivers superior anodizing results due to its low alloying content of primarily magnesium and silicon. This composition creates an ideal foundation for uniform oxide layer formation, resulting in exceptionally smooth surface finishes, consistent dye absorption for vibrant colors, and bright, clear anodized appearances. Unlike alloys containing copper or high silicon levels that cause discoloration or mottling, 6063 accepts virtually any dye color uniformly, making it the gold standard for architectural and decorative anodizing applications.
Anodize after machining for best results in most applications. Machining after anodizing exposes raw aluminum at cut edges that contrasts visually with the surrounding finish and creates contamination concerns. The oxide layer is also harder and more brittle than base aluminum, causing tools to chip or fracture the coating rather than cutting cleanly. However, threaded holes present an exception - never anodize after tapping, as the oxide layer alters thread geometry. Mask tapped holes during anodizing or leave them bare to maintain proper thread engagement.



 Интернет Сервис
 0086 136 3563 2360
 sales@sxalu.com
 +86 136 3563 2360
 русский
 English
 français
 Deutsch
 español
 português
 العربية
 ไทย
ไทย Việt
Việt Українська